1. What Are Custom Beads?
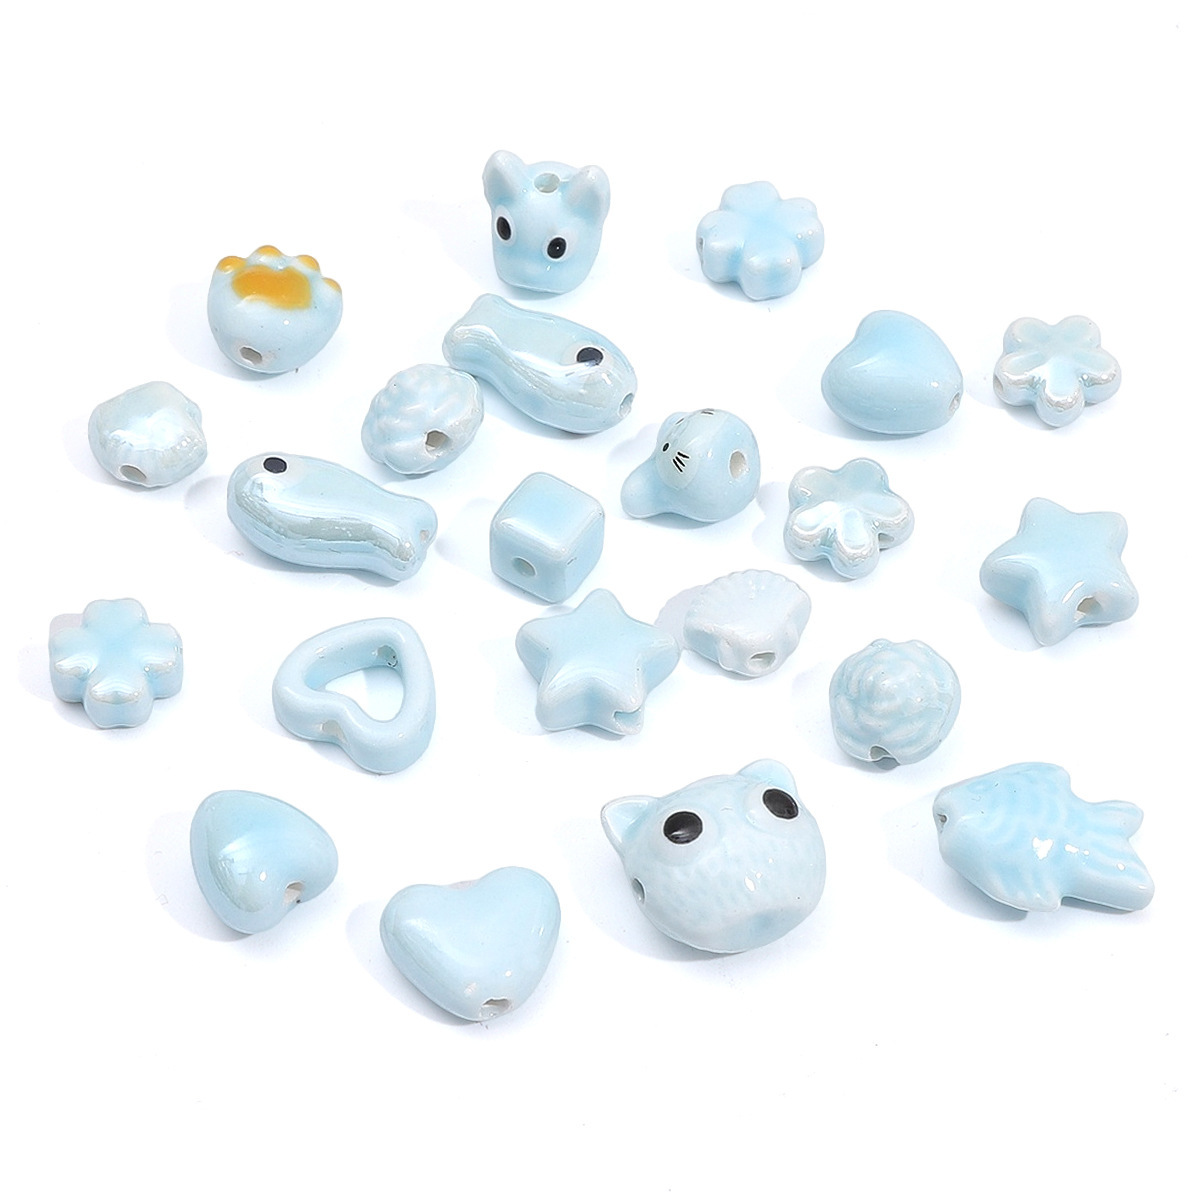
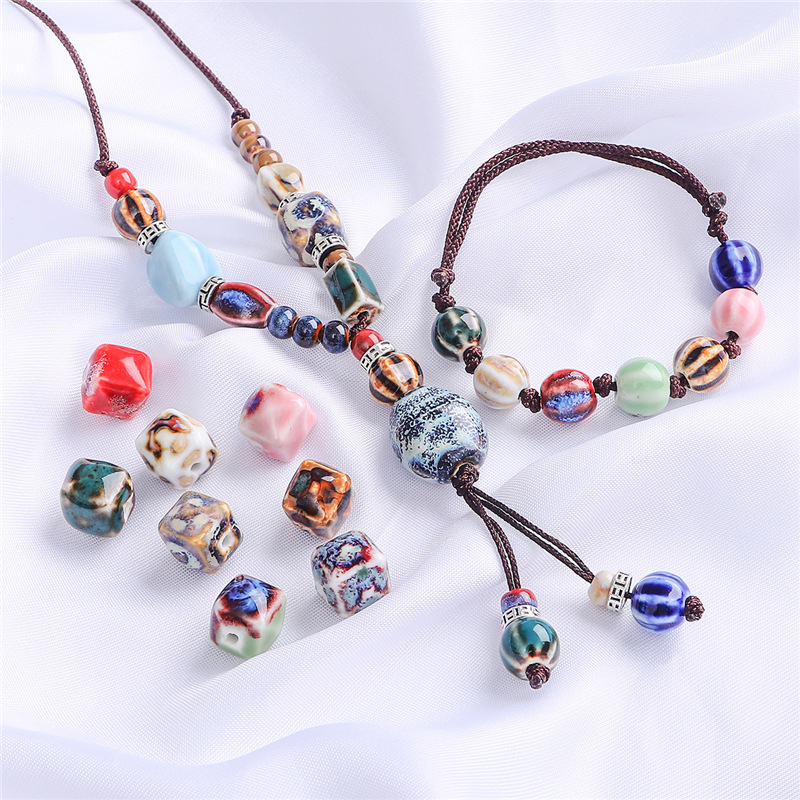
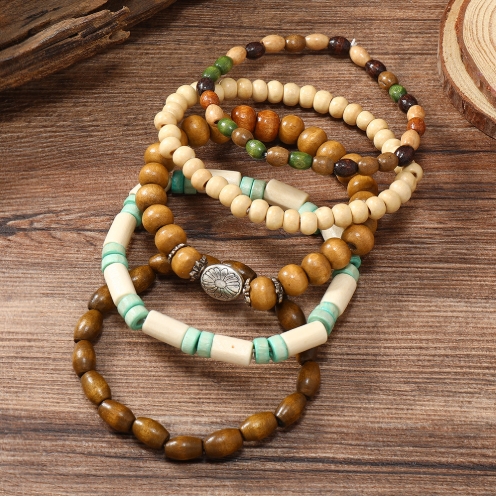
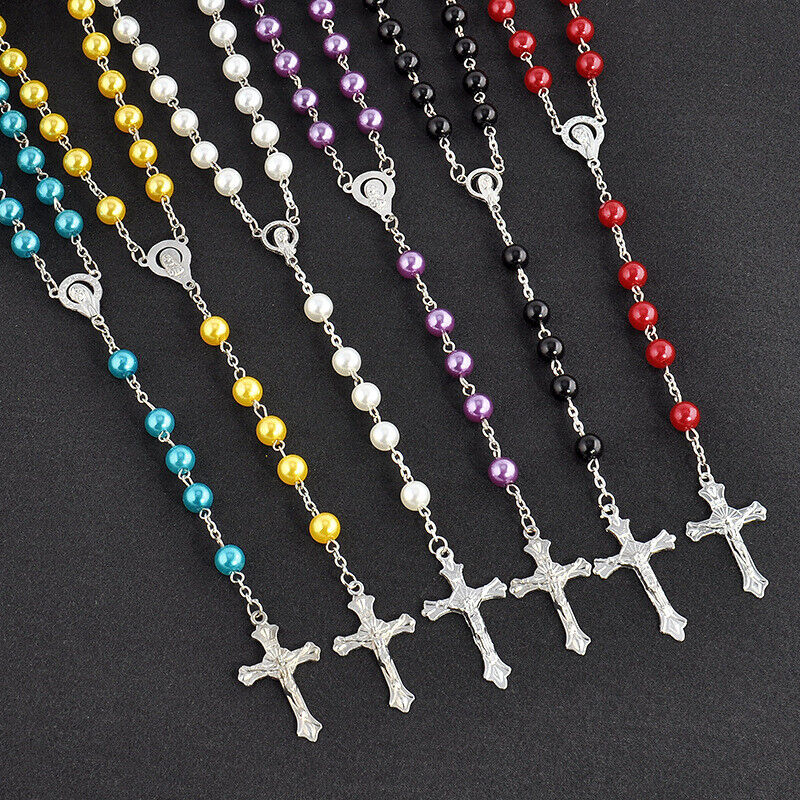
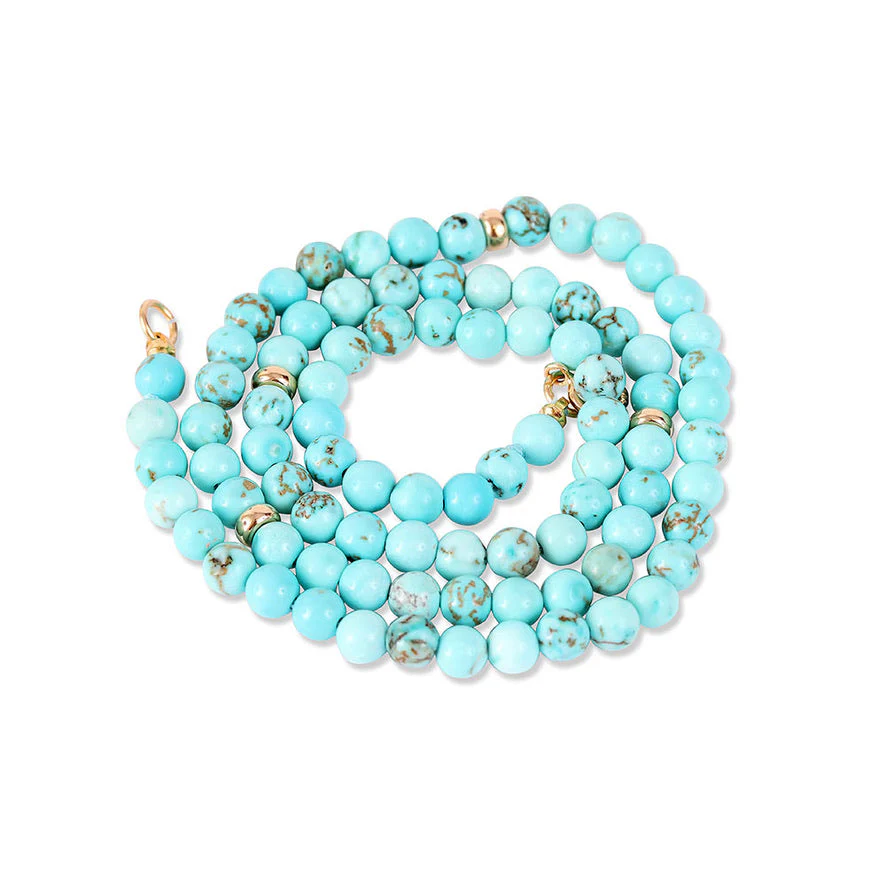
Custom beads are handmade or personalized beads created to reflect specific designs, colors, or patterns. Unlike mass-produced beads, custom beads are unique and tailored to meet individual preferences. Whether you’re making them for personal use or selling them as part of a jewelry business, custom beads allow you to express creativity and craftsmanship.
Customization plays a crucial role in jewelry making, allowing designers to offer personalized pieces that resonate with their customers. Custom beads can feature logos, initials, or intricate patterns, making them perfect for creating unique charms, bracelets, necklaces, and other jewelry items.
2. Choosing the Right Materials for Custom Beads
Selecting the right material is the first step in creating custom beads. Different materials offer various textures, colors, and finishes, so it’s essential to choose one that aligns with your design goals.
Glass Beads
Glass is a popular material for making beads due to its versatility and vibrant colors. Glass beads can be transparent, opaque, or frosted, allowing for a wide range of design possibilities. However, working with glass requires careful handling and the use of specialized tools.
Clay Beads
Clay, particularly polymer clay, is another excellent choice for custom bead-making. It’s easy to mold and shape, and it can be baked to harden. Clay beads can be painted, carved, or embedded with other materials to create unique designs. The downside is that clay beads may not be as durable as glass or metal beads.
Metal Beads
Metal beads are sturdy and have a timeless appeal. They can be made from various metals, including silver, gold, and brass. Metal beads are ideal for adding a touch of elegance to your jewelry, but they require more advanced tools and skills to work with.
3. Tools You’ll Need to Make Custom Beads
To get started with custom bead-making, you’ll need some essential tools. Here’s a list to help you prepare:
Basic Tools
- Needle-nose pliers: For bending and shaping wire
- Wire cutters: To cut through metal wire
- Bead reamers: For enlarging or smoothing bead holes
Advanced Tools
- Kiln: Necessary for glass and clay beads
- Torch: For melting glass or metal
- Rolling pin: For flattening clay
Having the right tools ensures that your bead-making process is smooth and efficient, allowing you to focus on creativity and detail.
4. Step-by-Step Guide to Making Custom Beads
Making custom beads is a process that requires patience and precision. Here’s a step-by-step guide to help you create your own custom beads:
Step 1: Design Your Bead
Start by sketching your bead design on paper. Consider the size, shape, and color of the bead, as well as any patterns or details you want to include.
Step 2: Prepare Your Materials
Gather your chosen material, whether it’s glass, clay, or metal. If you’re using clay, knead it until it’s soft and pliable. For glass, cut the desired amount and prepare it for shaping.
Step 3: Shape the Bead
Use your hands and tools to shape the bead according to your design. For clay beads, you can use molds or freehand the shape. Glass beads will require melting and shaping with a torch.
Step 4: Add Details
Incorporate any additional details such as patterns, textures, or embedded objects. This is where you can get creative and personalize your bead.
Step 5: Harden the Bead
If you’re working with clay, bake the bead in an oven according to the manufacturer’s instructions. Glass beads will need to be annealed in a kiln to harden and strengthen them.
Step 6: Finish the Bead
Once your bead is hardened, finish it by sanding any rough edges and applying a sealant if needed. For metal beads, you may need to polish them to achieve a shiny finish.
5. How to Create Custom Charms and Pendants
Custom charms and pendants are a great way to add a personal touch to your jewelry pieces. Here’s how you can create them:
Choosing Your Design
Start by selecting a design that resonates with you or your intended recipient. This could be a logo, an initial, or a symbol that holds special meaning.
Crafting the Charm or Pendant
Use the same techniques as bead-making, but focus on creating a flat, wearable shape. For metal charms, use a saw to cut out the design and a file to smooth the edges.
Adding Finishing Touches
Once the charm or pendant is shaped and hardened, add any finishing touches like engraving or painting. Attach a jump ring or bail to make it ready for stringing onto a necklace or bracelet.
6. Design Inspiration: Creating Unique Bead Patterns
Creating unique bead patterns is all about experimenting with color, shape, and texture. Here are some ideas to inspire you:
- Color Gradients: Use a range of shades from light to dark to create a gradient effect on your beads.
- Geometric Patterns: Incorporate triangles, squares, or zigzags into your bead designs.
- Mixed Media: Combine different materials like glass and metal in one bead for a textured, layered look.
7. Custom Beads for Jewelry: Bracelets, Necklaces, and More
Custom beads can be incorporated into various types of jewelry. Here are some tips for using them in different pieces:
Bracelets
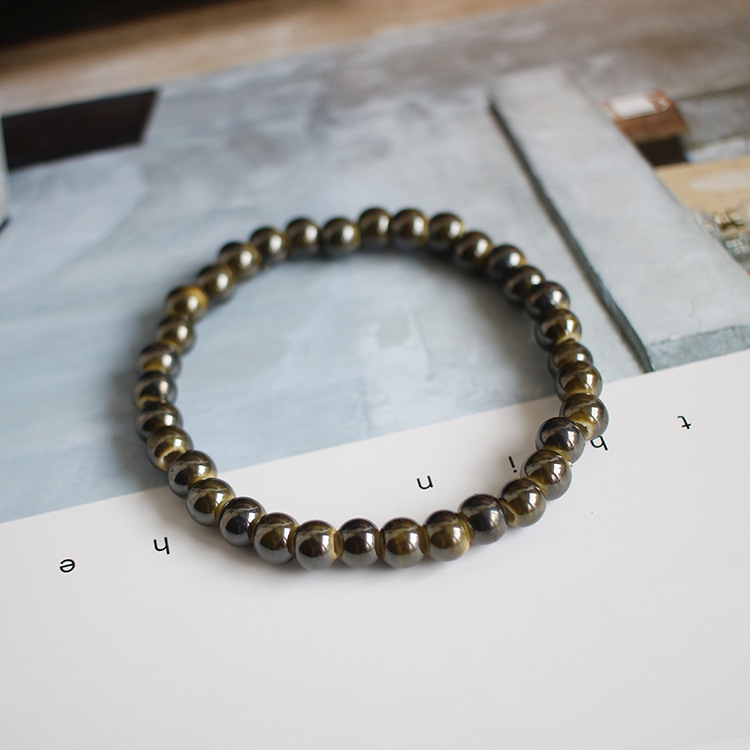
Use smaller beads for delicate bracelets or larger beads for statement pieces. Combine your custom beads with other elements like metal spacers or charms.
Necklaces
String custom beads onto a necklace chain, alternating with other beads or pendants to create a balanced design.
Earrings
Create matching pairs of custom beads for earrings. Add them to ear wires or studs to complete the look.
8. Where to Buy Supplies for Custom Bead Making
Finding the right supplies is key to successful bead-making. Here are some top places to buy materials:
Online Stores
- Etsy: Offers a wide range of bead-making supplies, including tools and materials.
- Fire Mountain Gems: Known for their extensive selection of beads and jewelry-making tools.
Physical Stores
- Michaels: A popular craft store with a good selection of bead-making supplies.
- Hobby Lobby: Offers a variety of beads and tools for beginners and advanced crafters.
9. Shipping Your Custom Beads: Packaging and Delivery Tips
When it comes to shipping your custom beads, proper packaging is essential to ensure they arrive safely. Here are some tips:
Packaging
- Use bubble wrap or foam padding to protect the beads.
- Place the beads in a sturdy box or padded envelope.
Choosing a Shipping Service
Select a reliable shipping service that offers tracking and insurance options to protect your shipment.
10. Selling Your Custom Beads: Turning a Hobby into a Business
If you’re ready to turn your bead-making hobby into a business, here are some steps to get started:
Pricing Your Beads
Consider the cost of materials, time spent, and market demand when setting your prices.
Marketing Your Products
Use social media platforms like Instagram and Pinterest to showcase your custom beads. Consider setting up an online store on Etsy or your own website.
Building a Brand
Create a unique brand identity that reflects the style and quality of your beads. This can help you stand out in the market and attract loyal customers.

