Summary
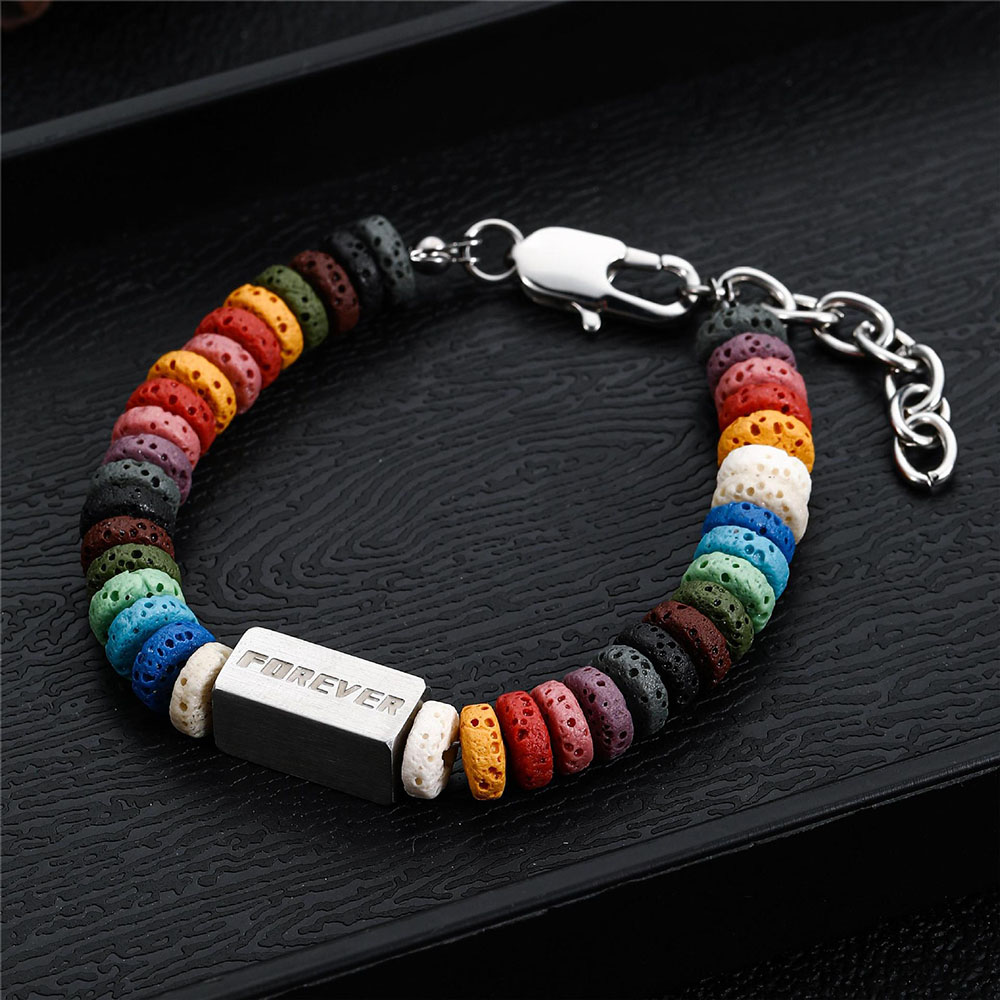
Each type of bead offers unique characteristics that can be leveraged to create distinct aesthetic and tactile effects. The choice of materials significantly impacts the final product’s look and feel, making material selection a crucial part of the bracelet-making process. Creating beaded bracelets requires not just an understanding of materials but also a well-planned design. Effective design planning includes visualization, pre-planning, and material selection. It also involves a deep understanding of design elements and principles such as balance, contrast, and color theory. Mastering these fundamentals ensures that the final product is both aesthetically pleasing and functional, fitting comfortably on the wrist while reflecting the creator’s vision. The actual crafting process of beaded bracelets incorporates a variety of techniques, from basic stringing to more advanced methods like wire wrapping, knotting, and bead weaving. Each technique offers unique possibilities and challenges, allowing crafters to continuously expand their skills. Additionally, securing the bracelet’s ends and choosing the appropriate clasps are essential steps that impact both the durability and usability of the bracelet. Beaded bracelets are not only a modern fashion statement but also have deep historical and cultural significance. Throughout history, beads have been used in various cultures for decoration, spiritual purposes, and as symbols of status and identity. The craft has evolved over time, with contemporary designs often reflecting a blend of traditional techniques and modern creativity. By mastering the art of making beaded bracelets, crafters can create pieces that are both beautiful and rich in cultural heritage.
Materials
Beaded bracelets can be made using a variety of materials, each offering unique characteristics and aesthetic appeal. Understanding the properties of these materials can help in selecting the best option for your beading projects.
Organic Beads
Bone
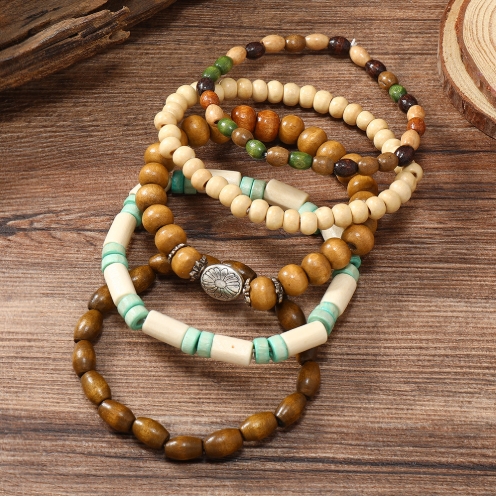
Bone beads are a popular choice throughout Africa, traditionally sourced from cow or water buffalo. Nowadays, the bone is obtained from elderly cattle or those that have died naturally, ensuring no animals are killed specifically for bead-making. Bone is a durable material, ideal for carving and polishing, and is typically bleached and sometimes dyed using a batik wax relief process, which creates intricate patterns. Bone beads are similar in weight to gemstone beads and are well-suited for making strung necklaces and bracelets.
Horn
Horn beads are derived from animals such as sheep, goats, yak, cattle, and bison. These beads often retain their natural colors, although they can be dyed or bleached. The natural luster of horn makes it an excellent choice for adornment.
Shell
Various types of shell beads are used in bracelet making:
- Conch Shell: Harvested mainly from the Indian Ocean, these beads have a rustic appearance with colors ranging from muted ivory to light pink. They are often inlaid with stones like turquoise and coral.
- Spiny Oyster: These beads come in shades of red, orange, and purple, and are commonly available in rondelle or heishi shapes.
- Coconut Shell: Lightweight and organic-looking, these beads are cut from the raw coconut shell and come in variegated shades of brown.
Seeds
Seed beads, also known as micro beads, are small glass beads perfect for bead weaving, needlework, and embroidery. They are made using a drawn glass technique and then smoothed by heating or rolling in hot sand.
- Japanese Seed Beads: Uniform in shape and size, these beads are ideal for weaving and embroidery. Major brands include Miyuki, Toho, and Matsuno, available in various sizes such as 15/0, 11/0, 8/0, and 6/0.
Imfibinga Seeds
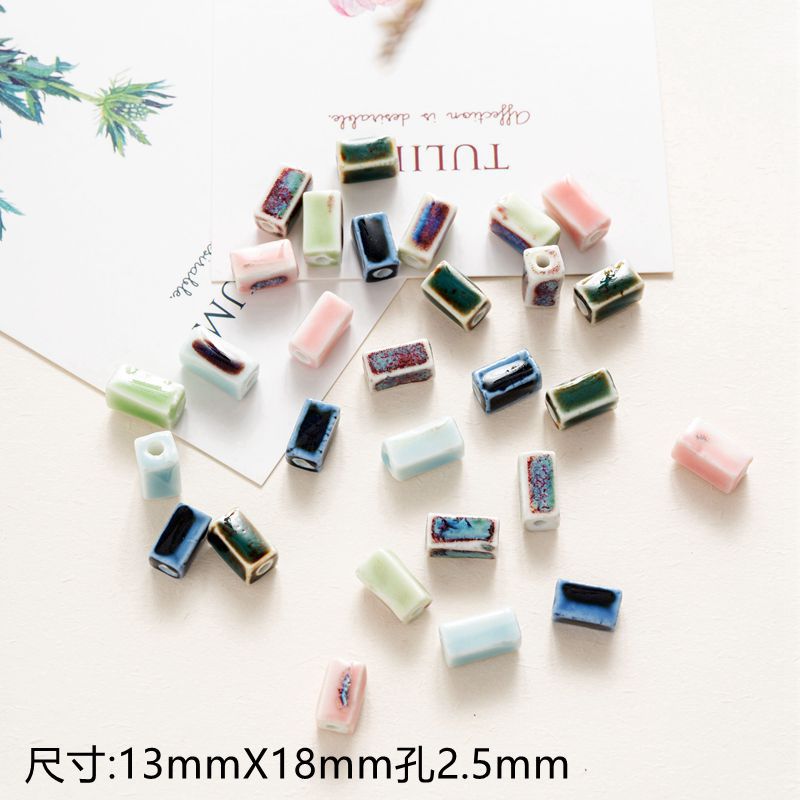
Imfibinga seeds, or Job’s Tears, are naturally occurring beads that grow with a hole in them. These seeds come in muted shades of gray, blue, ivory, and tan and have a natural pearly finish. They are easy to grow and only require drying before use in jewelry making.
Bodhi Beads
Sourced from bodhi trees in Nepal, these beads have a distinct vein-like texture and are considered significant in Buddhism for prayer and meditation due to the tree’s association with enlightenment.
Metal Beads
Precious Metals
Beads made from precious metals such as platinum, palladium, gold, and sterling silver are highly valued for their durability and aesthetic appeal. Sterling silver beads are widely used and can be polished to restore their original shine.
Plated Metal
Plated metal beads, often made from brass and coated with precious metals, offer an economical option. The quality and durability of the plating can vary, with brands like TierraCast providing a more lasting finish.
Clay Beads
Powder Glass
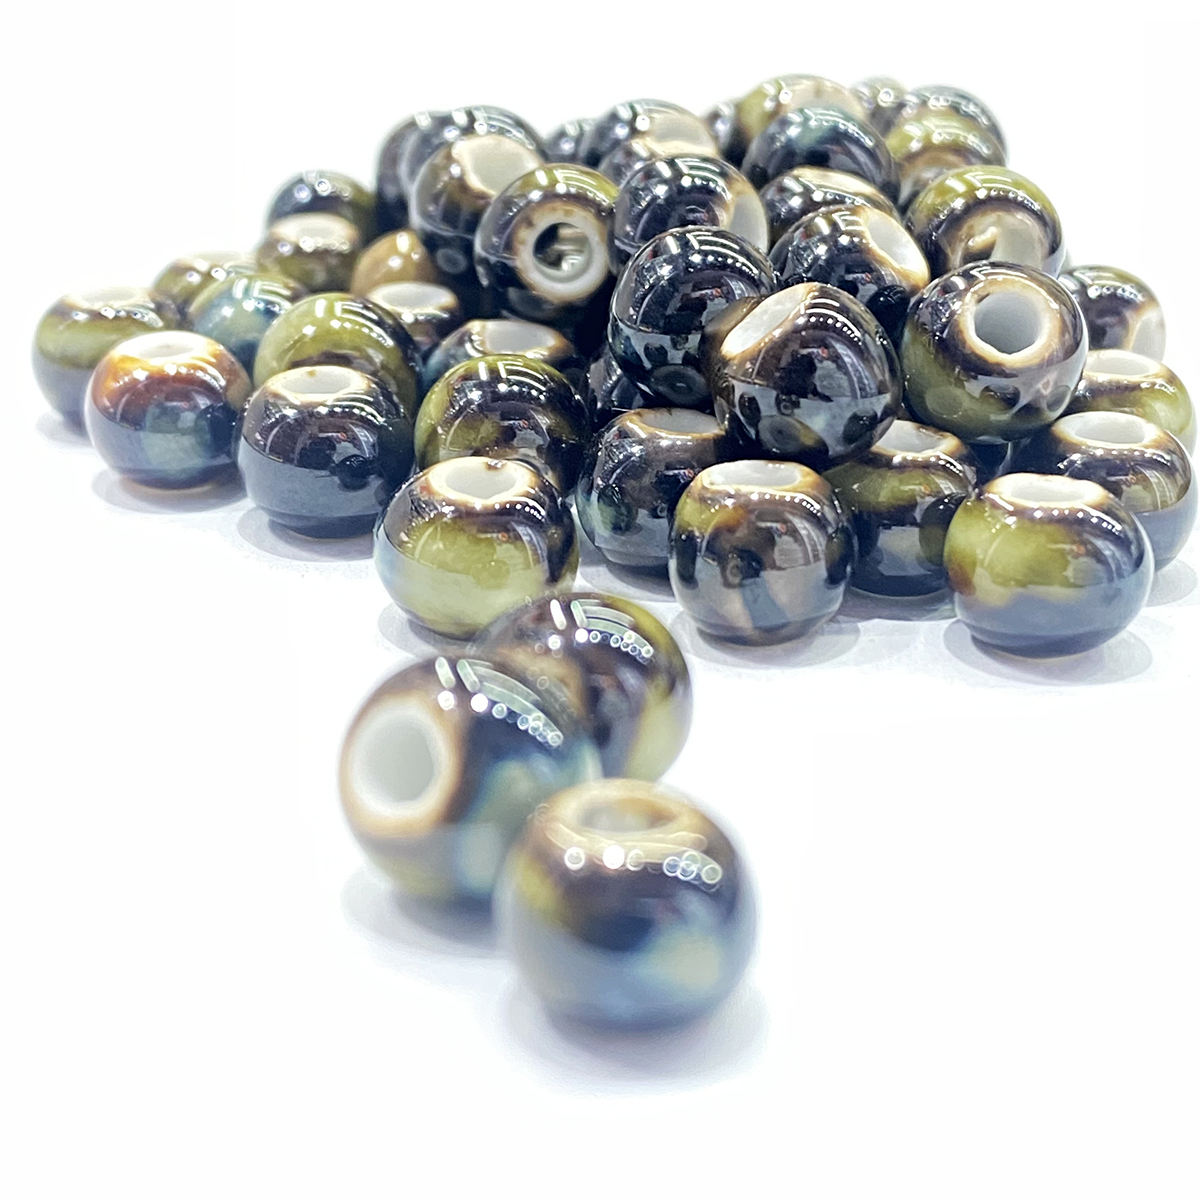
Mali beads are handmade from charcoal black clay mixed with water, oil, and gum arabic.
Design Planning
Effective design planning is essential for creating aesthetically pleasing and functional beaded bracelets. A well-conceived design sets the foundation for a successful project, ensuring that the final product aligns with the creator’s vision and fits comfortably.
Visualization and Sketching
Begin the design process by visualizing your bracelet. Sketching your ideas on paper or using bead design software can help you see how various elements will come together. Experiment with different color combinations, patterns, and proportions to create a design that resonates with your aesthetic preferences. Consider the type of clasp and any charms or additional elements that will be included in the bracelet.
Pre-Planning and Measurement
Pre-planning your bracelet is crucial for ensuring a correct fit to the wrist. Measure your wrist to determine the approximate number of beads needed for your design. Keep in mind that the wrist measurement is not the finished length; it serves as a guide for bead count. Typically, a wrist measuring approximately 6 1/4 inches would result in a bracelet of about 7 – 7 1/4 inches when finished, including the beads and clasp. Tools such as a retractable measuring tape and a handy chart for quick references can be beneficial during this step.
Material Selection
Choosing the right materials is a critical part of design planning. Popular craft stores offer a wide array of options, from wires and strings to beads in every shape and size, making the selection process potentially overwhelming. Plan your project in advance to eliminate uncertainty, reduce waste, and avoid disappointment in the final outcome. The primary materials needed for a bracelet band typically include elastic or wire, depending on your design preferences.
Understanding Design Elements and Principles
A good design incorporates key elements such as line, shape, space, size, texture, color, and value. Understanding these elements allows you to utilize design principles effectively, including contrast, balance, emphasis, movement, white space, proportion, hierarchy, repetition, rhythm, pattern, unity, and variety. Repetition and rhythm, for example, can create a sense of movement and lead the viewer’s eye through the design. Balance ensures the distribution of visual weight, making the design feel stable and harmonious.
Color Theory and Texture
Understanding color theory is vital for achieving emotional resonance through your designs. The color wheel helps in understanding the relationships between primary, secondary, and tertiary colors, allowing for bold combinations, subtle contrasts, and unexpected harmonies. Incorporating neutrals like whites, grays, blacks, and browns can add sophistication and balance to vibrant colors. Additionally, exploring different bead textures can enhance the visual and tactile appeal of your bracelet. By meticulously planning your design and understanding the fundamental principles and elements of visual design, you can create beaded bracelets that are both beautiful and meaningful.
Techniques
Crafting beaded bracelets involves mastering various techniques, each offering unique methods and creative possibilities. Here, we outline some fundamental techniques to get you started and elevate your beading skills.
Experimentation with Techniques
Exploring different beading techniques is essential to creating diverse and unique pieces. Techniques such as wire wrapping, knotting, weaving, and braiding provide varied structures and designs. Each method can range in difficulty from simple to complex, allowing for a tailored learning experience based on skill level and project complexity.
Wire Wrapping
Wire wrapping is a precise technique that involves coiling and weaving wire around beads or other focal points to create intricate patterns. This method provides a sturdy structure and an elegant aesthetic, perfect for bespoke jewelry.
Knotting
Knotting techniques, such as the overhand knot and square knot, are vital for adding both durability and visual interest to beaded designs. Knotting secures beads in place and can add spacing and texture, enhancing the overall look of the bracelet.
Pattern Design
Patterns play a crucial role in the visual appeal of beaded bracelets. Experiment with symmetrical, asymmetrical, random, or repeating patterns to create different rhythms and flows. Patterns can range from geometric and floral to abstract, each bringing its own meaning and aesthetic to the piece.
Texture and Bead Variety
Incorporating various types of beads, such as round glass pearls, coin-shaped metal sequins, or large wood beads, adds texture and depth to the design. Mixing different sizes and shapes helps create a standout piece that captures attention.
Bead Stringing Basics
Bead stringing is one of the most popular and universal techniques in jewelry making. Understanding the proper stringing method and materials, such as beading wire or elastic stretch cord, is crucial. This technique forms the foundation for creating balanced and visually appealing bracelets.
Starting the Stringing Process
Begin with a section of fishing string or elastic stretch cord at least 6 inches longer than the desired length of the bracelet. Secure one end with a knot or a crimp bead cover for added strength. String beads onto the cord, creating your design, and finish by securing the other end.
Adding Clasps and Closures
The choice of clasp is both a functional and aesthetic consideration. Options such as lobster clasps, toggle clasps, or magnetic clasps can complement the design while ensuring the bracelet is easy to wear. Properly attaching the clasp involves threading a headpin through the loop at one end, securing it with a jump ring, and then attaching the clasp.
Finishing Touches
Securing the ends of your bracelet is vital for durability. Apply a small amount of clear glue or melted wax to the ends of knots to prevent them from unraveling. Use a toothpick or fine applicator for precise application. This careful finishing ensures your bracelet remains intact and professional-looking. By mastering these techniques and continually experimenting with new methods, you can transform simple beads into dazzling works of wearable art. The journey through beading is an ongoing exploration of creativity and craftsmanship.
Step-by-Step Guide
Step 1: Gather Your Supplies
The first step involves preparing your workspace and gathering all the necessary supplies. You’ll need an array of seed beads in varying colors, sizes, and finishes, beading thread, a beading needle, a clasp or closure of your choice, jump rings, pliers, scissors, and adhesive. Lay out your materials, ensuring easy access as you progress through each step.
Step 2: Design and Visualization
A well-conceived design is the foundation of a successful bracelet. Take time to sketch your design on paper or utilize bead design software to visualize the final product. Experiment with color combinations, patterns, and proportions to create a bracelet that resonates with your aesthetic vision. Consider the type of clasp you prefer, as well as any charms or other elements that will be incorporated into the design. When satisfied with the bracelet blueprint, it’s time to begin making.
Step 3: Stringing the Beads
The most basic technique involves stringing beads on a cord. Select the cord of your choice, a beading needle (if needed), and your desired beads. Create a knot at one end of the cord and start threading the beads onto the cord, keeping the knot tight. You can choose to create a pattern with the beads or mix them up to create a unique design. Once the beads are all on the cord, tie another knot to secure them in place, and add a clasp to finish the bracelet.
Step 4: Securing the Ends
To complete your bracelet, begin by trimming the excess cord, yet ensure you don’t cut too close to the knots. A crucial step in securing the ends and preventing fraying is to carefully apply heat to the cord’s edges, effectively sealing them. Use pliers to fold the sides over and then continue clamping it tighter and tighter until the cords will not pull out.
Step 5: Adding Final Touches
To achieve an adjustable bracelet, you’ll employ a variation of the method used in step three, substituting your fingers for the straw to create the knots. This technique should be comfortably familiar, requiring only a slight adjustment to execute with ease. Once you have completed all the steps, you can add any final touches such as additional charms or decorative elements.
Step 6: Enjoy Your New Bracelet
With the completion of this project, you’re left with a stylish and personalized accessory that’s perfect for wearing proudly or bestowing upon a loved one as a heartfelt present.
Advanced Techniques
Advanced beaded bracelet making involves delving into a variety of intricate techniques and exploring different materials and design concepts to create unique and sophisticated pieces. These techniques can range from wire wrapping and bead weaving to using advanced tools like bead looms.
Bead Weaving
Bead weaving is another advanced technique that involves stringing together tiny seed beads to form intricate patterns and designs. There are two primary methods of bead weaving: using a loom or weaving off-loom with needles and thread. Loom weaving involves weaving the weft threads over and under the stationary warp threads, while off-loom techniques include popular stitches like the peyote stitch, right angle weave, and brick stitch.
Popular Bead Weaving Stitches
- Right Angle Weave (RAW): This versatile stitch can be made into flat shapes or three-dimensional objects. Variations include Tubular Right Angle Weave, Cubic Right Angle Weave, and Circular Right Angle Weave.
- Peyote Stitch: Also known as the gourd stitch, this is one of the oldest and most versatile bead weaving stitches. It can be adapted into various forms such as Flat Even-Count Peyote, Tubular Peyote, and Circular Peyote.
- Brick Stitch: This stitch weaves beads in a stacked pattern, similar to bricks on a wall, and is based on the simple ladder stitch. Variations include Multiple-Drop Brick Stitch and Circular Brick Stitch.
Wire Wrapping
Wire wrapping is a fundamental technique that can elevate the design of your bracelet by adding intricate details and secure fittings. This method involves threading a bead onto a headpin, followed by bead caps and spacers. Using round nose pliers, you form a loop and wrap the wire tightly to secure it to the bracelet. The excess wire is trimmed off, and additional charms or beads can be added as needed to complete the design.
Utilizing Bead Looms
A bead loom is a specialized tool that allows for precise and uniform weaving of beads. The loom holds the warp threads in place by tension, and the weft threads, which carry the beads, are woven between them. The length and width of the finished piece depend on the warp threads’ arrangement. Mastering the bead loom can lead to the creation of highly detailed and symmetrical designs.
Experimental Techniques
Exploring different techniques, patterns, and sources of inspiration can lead to innovative designs. Techniques like wire wrapping, knotting, weaving, or braiding offer various ways to manipulate materials to create unique structures. Experimenting with patterns—symmetrical, asymmetrical, random, or repeating—can also yield different aesthetic results. Additionally, inspiration from books, magazines, websites, blogs, and tutorials can introduce new skills and ideas, while personal creativity can lead to original bracelet designs. By mastering these advanced techniques, you can create beaded bracelets that showcase your craftsmanship and creativity, making each piece a unique work of art.
Historical and Cultural Significance
Beads have played an integral role in human history, serving not just as decorative items but as symbols of status, spirituality, and cultural identity. The use of beads dates back to prehistoric times, where they were fashioned from materials like shells, bones, and stones into rudimentary ornaments. These early artisans, with a keen eye for aesthetics, transformed raw elements into intricate miniature masterpieces, highlighting the universal human inclination to embellish and beautify.
Khoesan and Indigenous African Beadwork
For most of the 20th-century, Khoesan hunter-gatherers, commonly referred to as ‘San’ or ‘Bushmen,’ resided in the semi-arid Kalahari region spanning Botswana and neighboring parts of South Africa, Namibia, Angola, Zambia, and Zimbabwe. The Khoesan had three major language groupings—Ju, Khoe, and Southern—each encompassing various groups with distinct names but sharing common features in kinship, ritual, cosmology, and material culture. Beadwork was an essential part of their material culture, with San women crafting ostrich egg-shell beads used in necklaces, head-ornaments, and other accessories. Beadwork among southern African indigenous communities flourished with the introduction of glass beads imported from Europe during the 19th and 20th centuries. These glass beads enabled the creation of unique items that showcased the dynamic nature of indigenous knowledge as it adapted to new influences.
Symbolism in Beadwork
In various cultures, beadwork carried profound symbolic significance. For instance, Native American beadwork designs are deeply rooted in cultural traditions and are often linked to specific ceremonies or rituals like weddings, births, or coming-of-age ceremonies. These designs are passed down through generations, with each adding their own unique touch, thus maintaining a strong connection to their cultural heritage. Similarly, in the ancient civilizations of Harappa and Mohenjo-Daro in the Indus Valley, beadmaking showcased both functional and artistic elements. Beads crafted from materials such as terracotta and steatite reflected a sophisticated sense of design and cultural symbolism.
Global Impact and Evolution
The cultural impact of beads is evident across different civilizations. In ancient China, for instance, jade beads were not only symbols of wealth but also carried spiritual significance. They adorned the elite, signifying status and belief. Beads from various ancient civilizations have been uncovered through archaeological discoveries, revealing the universal appeal and significance of these tiny artifacts throughout human history. As we continue to explore the rich history of beadwork, we recognize that each bead tells a story—a story that transcends time and weaves the intricate narrative of our shared human history. From their ancient beginnings to their role in contemporary artisanal practices, beads remain a testament to the enduring human desire for beauty, meaning, and connection.
Tips and Tricks
Creating beaded bracelets can be a fulfilling and creative endeavor. Here are some invaluable tips and tricks to help you refine your skills and ensure your beading projects are successful.
Tips for a Successful Stringing Experience
Incorporate Spacer Beads
Spacer beads help define patterns and prevent beads from crowding each other. They add a polished look to your design.
Balancing Symmetry
Achieve balance by maintaining symmetry in your patterns. This is particularly important for designs with a focal point or centerpiece.
Consistent Tension
Maintain even tension as you string beads to create a professional and polished look.
Spacing and Arrangement
Pay attention to the spacing between beads and their arrangement. Consistency in these elements contributes to a well-crafted piece.
Double-Checking Length
Before finalizing your design, double-check the length to ensure it fits comfortably around the wrist or neck.
Prevention is Key
Minimize the risk of tangled threads by keeping your workspace organized. Regularly untangle threads as you work to prevent larger knots from forming.
Using Thread Conditioner
Thread conditioner or beeswax can be applied to your beading thread to reduce friction and prevent tangling. Run your thread through the conditioner before starting a project.
Patience and Persistence
If you find yourself facing a tangled mess, take a deep breath. Slowly and patiently work through the knots, teasing them apart with a needle or pin.
Fixing Mistakes in Bead Placement
Careful Bead Re-Stringing
If you realize a bead is out of place, carefully remove it from the wire or thread and restring it in the correct position. Use pliers to gently open jump rings if necessary.
Adding Spacer Beads
To avoid beads crowding each other or moving out of place, consider using spacer beads between each bead. These small beads add visual appeal and help maintain proper spacing.
Using Jump Rings
Choose jump rings that coordinate with your beads and wire. These will attach the clasp to your bracelet.
Clasp Selection
Pick a clasp that suits the style of your bracelet. Lobster clasps and toggle clasps are popular choices.
Troubleshooting Common Issues
Tangled Threads
Keep your workspace organized and untangle threads regularly during the crafting process. Use a thread conditioner or wax to minimize friction .
Untangling Knots
Use a needle or thin wire to carefully tease apart knots. Work patiently and avoid pulling too hard to prevent damaging the thread.
Fixing Misplaced Beads or Wrong Pattern
Pause periodically to review your work before proceeding. Carefully backtrack and correct mistakes without undoing the entire bracelet. Use extra beads to fill gaps if necessary.
Adjusting Bracelet Length
For bracelets with adjustable closures, make it easy to adapt the size as needed. This is especially useful if you are creating bracelets for others or plan to sell them.
Cord Fraying
Use quality stringing materials that are less prone to fraying. Avoid dragging the cord across rough surfaces while beading. For nylon or synthetic cords, burn the tips to prevent fraying. By following these tips and tricks, you’ll be well on your way to creating beautiful, well-crafted beaded bracelets.
Common Mistakes and Solutions
Mistakes happen to the best of us, but they don’t have to derail your entire project. Discover strategies for fixing common mistakes such as misplaced beads, uneven spacing, or errors in your pattern. Whether it’s removing and replacing individual beads or adjusting your design on the fly, we’ll guide you through the process of correcting errors without having to start from scratch.
Tips for Maintaining Consistency in Bead Spacing
Achieving consistent bead spacing is key to a polished and professional-looking bracelet. Learn techniques for maintaining even spacing throughout your design, ensuring a visually pleasing result. We’ll cover methods for counting beads, using guides, and incorporating visual cues to keep your spacing consistent from start to finish.
Repairing Broken or Damaged Bracelets
Despite your best efforts, accidents can happen. Learn effective methods for repairing broken or damaged bracelets. From restringing beads to replacing clasps, we’ll provide step-by-step instructions to help you revive and extend the life of your beaded creations. Discover the tools and techniques needed to address common issues, ensuring your bracelets can be enjoyed for years to come.
Preventing Bead Loss
Issue: Beads may roll off your workspace, causing frustration and potential loss. Solution:
- Work on a bead mat or tray to prevent beads from rolling.
- Consider using a bead scoop or tweezers for easier handling.
- Create a designated work area to contain your beading supplies. Remember, troubleshooting is a natural part of the learning process. Don’t be discouraged by challenges; instead, see them as opportunities to refine your skills. With time and practice, you’ll become more adept at overcoming hurdles, and your beading projects will reflect the resilience and creativity that make this craft so rewarding. Happy beading!
