DIY Beaded Bracelet Kits: Everything You Need to Start
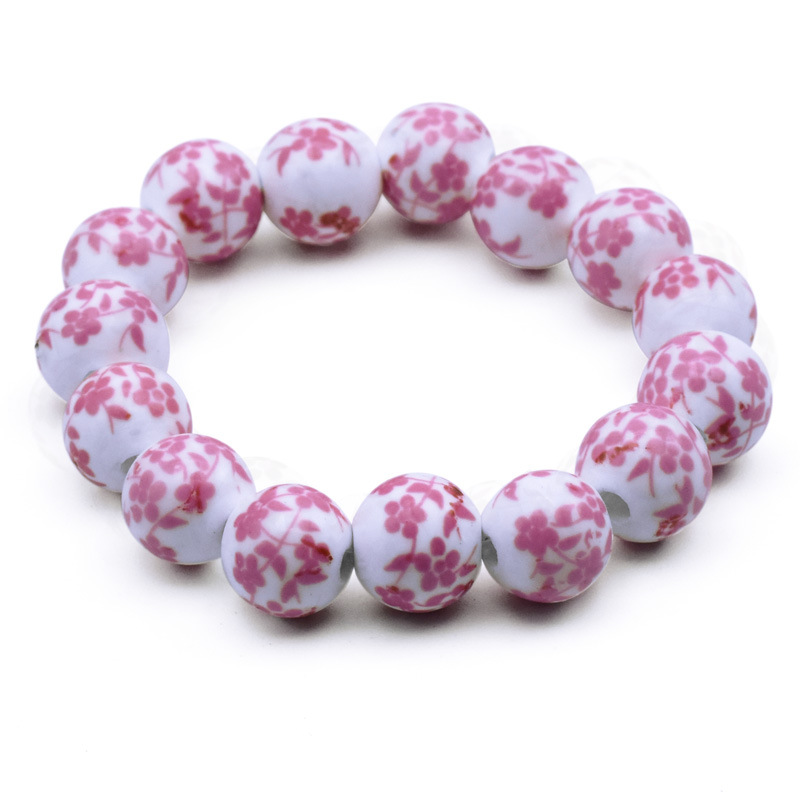
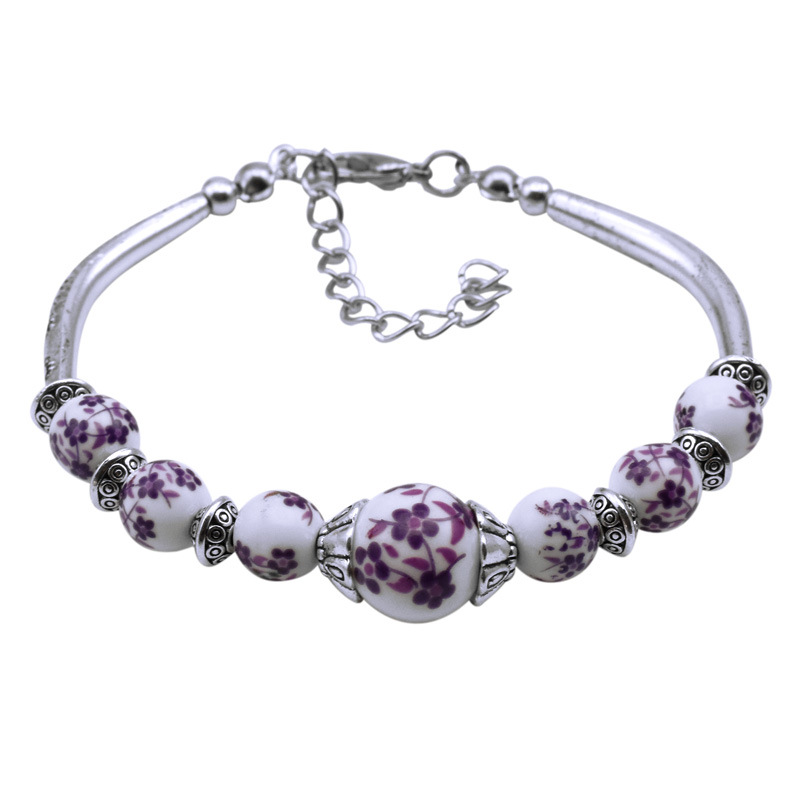
The tradition of beading spans various cultures and epochs, from the ancient Egyptians and Romans to the vibrant bead markets of Venice and the intricate beadwork of Native American tribes. This rich history imbues modern DIY beading with a sense of timeless artistry and cultural connection. Notably, DIY beaded bracelet kits come in a myriad of forms, designed to accommodate different skill levels and aesthetic preferences. Whether opting for an all-encompassing Ultimate Bracelet Kit with high-quality Japanese glass beads, the elegant Miyuki Macrame Friendship Bracelets, or the creatively unique Polymer Clay Kit, these kits enable users to explore diverse techniques and styles. The kits often include detailed instructional guides and tutorial videos, making the process accessible and enjoyable for everyone. The components typically featured in these kits—ranging from various bead types and stringing materials to specialized tools like pliers and needles—ensure that each bracelet is not only beautiful but also durable. Choosing the right DIY beaded bracelet kit is crucial for a satisfying crafting experience. Factors such as the crafter’s skill level, the complexity of the bead patterns, and the quality of materials and tools play a significant role in the selection process. High-quality kits often come with premium beads, like authentic Japanese glass tiles, and provide comprehensive guides that inspire creativity and learning. Engaging with the broader beading community, whether through online forums, social media groups, or local crafting clubs, can also enhance the experience by offering support, inspiration, and opportunities for sharing one’s creations. The benefits of engaging in DIY beaded bracelet making extend beyond the creation of beautiful accessories. This hobby serves as a therapeutic activity that fosters relaxation, stress relief, and personal expression. It offers a platform for creativity, skill development, and the joy of making customized, unique jewelry pieces. Moreover, the communal aspect of beading, through shared projects and the exchange of ideas, enriches the crafting journey, making it a rewarding and fulfilling endeavor.
Table of Contents
History of Beaded Bracelet
n the earliest annals of human history, beads were not merely decorative trinkets; they were symbols of status, spirituality, and community. From the sands of ancient Egypt to the vibrant markets of Mesopotamia, beads adorned the attire of kings and commoners alike. In these civilizations, beads were meticulously crafted from materials such as glass, clay, and shells, reflecting the artistic prowess of their creators. The significance of beads transcended mere aesthetics, becoming vessels of symbolism that represented spirituality and divine connections. In many ancient cultures, beads were used in religious rituals, worn as talismans, or strung into prayer beads to aid in meditation and contemplation. As trade routes expanded, so did the influence of beads. Beads became a form of currency, exchanged along the Silk Road and other ancient trade networks. The movement of beads between cultures facilitated not only commerce but also the exchange of artistic techniques and cultural practices. The global dissemination of beads reflects the interconnectedness of civilizations and the enduring allure of these tiny treasures. The art of bead making evolved alongside advancements in craftsmanship and technology. In ancient Rome, glassblowing techniques paved the way for more intricate and colorful bead designs. After the fall of the Roman Empire, the demand for glass beads declined and many of the Egyptian and Roman glassmaking techniques were lost. The industry regained traction during the 12th century in Europe, and the Venetians began mass-producing glass beads that would be traded all over the world. The Glassmakers Guild was formed in 1271, enacting strict rules and regulations for glassmakers, and eventually, all glassmaking factories were moved to the island of Murano. The Venetian glass trade peaked in the 15th and 16th centuries, with most of their business producing beads for export to Africa. In the New World, Native American beadwork became a distinctive and cherished form of expression. Beaded garments and accessories served as both practical items and intricate storytelling devices, recounting tribal histories and individual achievements. As we explore the historical significance of beads, we gain not only a glimpse into the aesthetic preferences of bygone eras but also a deeper understanding of the cultural, spiritual, and economic roles that beads played in shaping societies. Beads, tiny treasures that transcend time and culture, have woven themselves into the very fabric of human history. From ancient civilizations to contemporary couture, these small, often colorful artifacts hold immense significance and charm. In our quest to delve into the intricate world of beads, we embark on a comprehensive guide that promises to unravel the diverse tapestry of bead varieties, their cultural importance, and the artistic expressions they inspire.
Types of DIY Beaded Bracelet Kits
DIY beaded bracelet kits come in various forms, each designed to cater to different skill levels and creative interests. These kits include a range of materials and tools, allowing you to make personalized jewelry pieces with ease. Below are some popular types of DIY beaded bracelet kits.
Ultimate Bracelet Kit
The Ultimate Bracelet Kit is a comprehensive package that includes all the essential tools and materials needed to create up to 80 bracelets. This kit features 32 colorful beads, a wipeable bead mat with a built-in ruler, pliers, cutters, needles, elastic cord, crimp beads, covers, and a step-by-step tutorial video. The beads are 100% authentic Japanese glass tile beads from a top manufacturer, ensuring high quality and durability.
Miyuki Macrame Friendship Bracelets
Miyuki Macrame Friendship Bracelet kits are ideal for both beginners and experts. These kits typically include Miyuki beads in various colors such as silver-lined cranberry, dura coat galvanized muscat, opaque light peach, and transparent salmon luster. The kits also come with C-Lon beading cord, scissors, and Hasulith jewelry glue to secure the designs. These kits are perfect for making elegant and durable friendship bracelets.
Ellie DIY Bracelet Kit
The Ellie DIY Bracelet Kit offers a variety of components, including Iridescent and Multi Drusy beads, Amethyst, Variegated Turquoise Magnesite, White Howlite, and Pink Cat’s Eye stones. It also features natural baroque pearls, mini tassels, gold bead accents, and vibrant cording with prefixed closures. This kit is excellent for those who love to mix and match different elements to create unique designs.
Polymer Clay Kit
For a unique twist on traditional beading, the Oh Hello Maker polymer clay kit provides materials to create custom gold leaf earrings. This kit includes white polymer clay, gold leaf, custom-designed cutters, pliers, jewelry findings, embroidery thread, and printed step-by-step instructions. An online video tutorial is also available for additional guidance. This kit is perfect for those looking to explore new crafting techniques while making personalized jewelry.
Macaroon’s Luxe DIY Beading Kit
Macaroon’s Luxe DIY Beading Kit is an excellent option for beginners, offering a simple yet elegant approach to jewelry making. The kit includes a variety of beads, cording, and basic tools to get you started. It’s designed to make the process straightforward and enjoyable, making it an excellent entry point into the world of beaded jewelry.
Halloween Pony Bead Bracelets
For those who enjoy thematic accessories, Halloween pony bead bracelet kits are a fun and festive option. These kits typically include orange, black, and white beads to create spooky designs perfect for October gatherings or festive treats. The simplicity of these kits makes them ideal for beginners or for a quick, fun project.
Fabric Beaded Bracelets
DIY fabric beaded bracelet kits offer an exciting twist by incorporating strips of fabric into the designs. These kits allow for a bohemian flair and are a great way to recycle old clothes while creating something beautiful and new. They usually include various beads, fabric strips, and cording, making it easy to craft unique, stylish bracelets.
Tube Bead Stretch Bracelet Kits
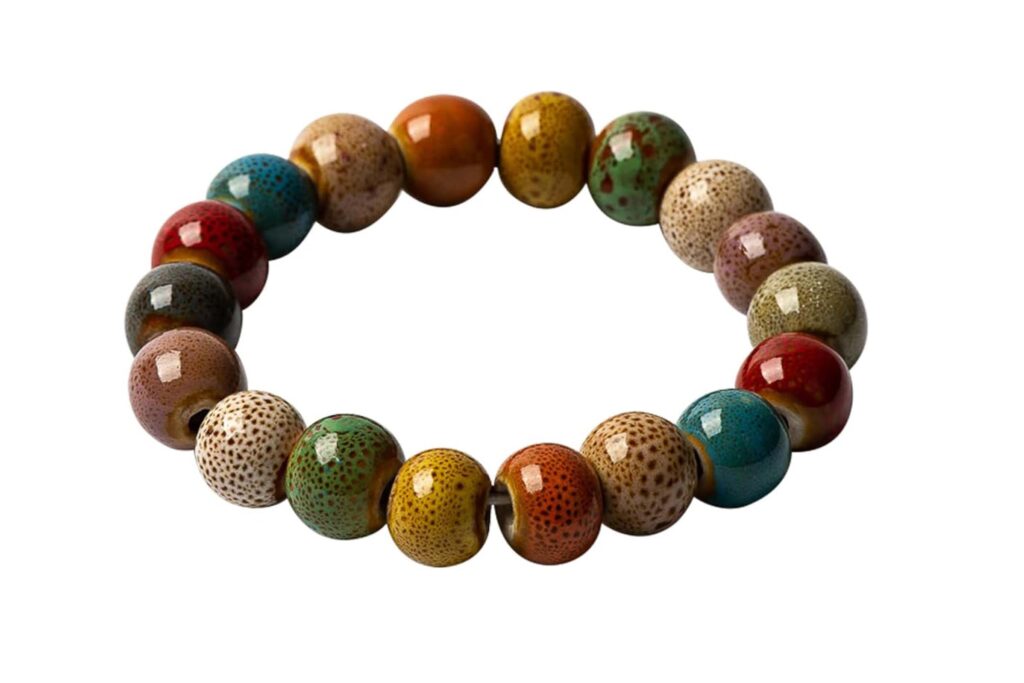
Tube bead stretch bracelet kits combine elegance with simplicity.
Components of a DIY Beaded Bracelet Kit
A comprehensive DIY beaded bracelet kit typically includes a variety of essential materials and tools, making it accessible for both beginners and seasoned crafters. These kits are designed to provide everything needed to create stunning and personalized beaded bracelets.
Beads
The central element of any bracelet kit is the beads. These can vary widely in material, size, shape, and color. High-quality kits often feature premium beads, such as 100% authentic Japanese glass tile beads known for their durability and beauty.
Seed Beads: Microscopic beads perfect for intricate bead weaving and detailed embroidery work.
Faceted Rounds: Round beads with multiple flat surfaces that add brilliance and sparkle, ideal for jewelry pieces that catch and reflect light.
Cylinder Beads: Tube-shaped beads, including elongated bugle beads, often used for creating fringe or adding length to beadwork.
Unique Shapes: Beads shaped like hearts, stars, or other novelty forms for added creativity.
Stringing Materials
Various stringing materials are used to hold the beads together and form the bracelet.
Elastic Cord: High-quality elastic cords, such as the .5mm crystal cord elastic, provide flexibility and durability.
Thread: Thin and flexible, suitable for delicate and intricate beading, often recommended for creating boho-style bracelets.
Wire: Memory wire and beading wire are used for more rigid designs, offering structural integrity and the ability to maintain shape.
Tools and Accessories
To assist in the assembly and finishing of the bracelets, kits include an array of tools and accessories:
Pliers and Cutters: Essential for manipulating wire and cutting stringing materials to the desired length. Kits may include various pliers such as round nose, chain nose, and flat nose pliers.
Needles: Thin metal rods with an eye to help thread beads onto the stringing material. Lock-top needles are particularly useful in preventing beads from slipping off during the process.
Bead Mat: A wipeable bead mat with a built-in ruler to ensure proper sizing and organization of beads.
Crimp Covers and Findings: Metal pieces such as crimp beads, jump rings, and clasps to secure the ends of the bracelet and add finishing touches.
Additional Components
For a complete crafting experience, high-quality bracelet kits might also include:
Tutorial Guides: Step-by-step instructional videos or printed guides to assist crafters through the bracelet-making process.
Organizational Tools: Containers or leather cases with zippers to keep beads and tools neatly organized. In essence, a well-rounded DIY beaded bracelet kit provides all the necessary components to create beautiful and unique bracelets, catering to various styles and skill levels. Whether for personal use or as a thoughtful gift, these kits offer a creative and enjoyable crafting experience.
Popular Brands and Manufacturers
The world of bead making is rich with history and renowned brands that offer a wide array of high-quality products. Among the top brands for seed beads are the Japanese manufacturers Miyuki and Toho, as well as the Czech brands Preciosa and Matubo. These companies provide an extensive selection of beads in various sizes, shapes, and colors, each with its unique characteristics. For instance, a round 11/0 bead from Miyuki may slightly differ from a round 11/0 bead from Preciosa.
Japanese Brands
Miyuki
Miyuki is one of the leading manufacturers of seed beads in Japan. Known for their uniform size and shape, Miyuki beads are a favorite among beading enthusiasts. They offer a wide range of colors and finishes, making them versatile for various projects.
Toho
Another top Japanese brand, Toho, is renowned for its high-quality seed beads. Toho beads are slightly larger in size compared to Miyuki beads, which can be a consideration for specific projects. They also offer a diverse color palette and different finishes.
Czech Brands
Preciosa
Preciosa is a well-known Czech brand famous for its high-quality crystal glass beads in addition to seed beads. Czech crystals from Preciosa are a great economical alternative to Swarovski crystals as they contain less lead and have a slightly less precise cut and clarity. Preciosa also provides a wide variety of seed beads that are popular for their versatility and affordability.
Matubo
Matubo is another Czech brand that has made a significant impact on the bead market. They offer seed beads in various unique shapes and finishes, making them ideal for adding a special touch to beaded jewelry designs.
Chinese Manufacturers
Many of the faceted crystal beads available today are produced in China. These beads are generally unbranded and vary in quality. They contain some lead content, although not as much as Swarovski beads, and are typically very affordable. It is essential to inspect Chinese crystal beads closely for quality before using them in projects.
Venetian and Dutch Glass
Historically, Venetian artisans who fled Murano brought their bead-making expertise to Holland, contributing to the Dutch bead industry. Dutch Dogons, also known as German wound annular beads or donut beads, are notable for their craftsmanship and are commonly found in dark blue or cobalt colors.
Hebron Beads
Hebron beads, named after the holy city in Palestine, are known for their coarse finish due to the local sand and sodium carbonate from the Dead Sea. These beads are primarily traded in West Africa, particularly in Kano, Nigeria.
Other Notable Materials
Beyond the popular brands, artisans have crafted beads from materials such as conch shell, coconut shell, and various types of glass. Conch shell beads, produced by the Naga people of Eastern Burma and Northeastern India, feature a rustic appearance and are often inlaid with stones like turquoise and coral. Coconut shell beads offer an organic look with their variegated brown shades. Each of these brands and materials contributes to the rich tapestry of bead making, offering a variety of options for DIY beaded bracelet kits and other jewelry projects.
How to Choose a DIY Beaded Bracelet Kit
Choosing the right DIY beaded bracelet kit is essential to ensure a satisfying and successful crafting experience.
Skill Level
Consider your skill level when selecting a DIY beaded bracelet kit. Beginner kits usually contain simple patterns and easy-to-follow instructions, making them ideal for those new to beading . These kits often include basic techniques such as measuring your wrist, tying secure knots, and finishing with crimp covers. Intermediate and advanced kits may require familiarity with more complex stitches and gauge variations, catering to those who have some experience in beading .
Materials and Tools
The materials and tools included in the kit are fundamental to the quality and style of your finished bracelet. Look for kits that offer a variety of beads in different sizes, shapes, colors, and textures, such as metal, glass, wood, plastic, clay, and stone beads . Mixing and matching different kinds of beads can result in a unique and personalized look. Additionally, ensure the kit includes a strong string or thread that can securely hold the beads and fit through their holes. Options like fishing line, elastic cord, nylon cord, embroidery floss, yarn, or ribbon are commonly used . A comprehensive kit should also provide clasps, buttons, and charms to add finishing touches to your bracelet.
Pattern Complexity
Beaded bracelet patterns can range from straightforward designs to intricate creations. If you prefer quick and easy projects, look for kits that feature simple threading techniques and a limited variety of beads . For those interested in more elaborate designs, choose kits that offer detailed guides and a wider selection of beads and components. Popular pattern options include handmade beaded bracelets with knot covers, beaded bracelets with clasps, stretchy bracelets, and personalized friendship bracelets with letter beads .
Inspiration and Creativity
The best kits not only provide materials but also inspire creativity. Look for kits that encourage experimentation with bead sizes, shapes, and colors to create visually interesting and unique designs . Kits that come with detailed tutorials and step-by-step guides can help you learn new techniques and enhance your beading skills . Additionally, consider kits that allow for customization and personalization, such as adding letters or charms to create meaningful and individualized pieces .
Community and Support
Connecting with other crafters can be a valuable part of the beading experience. Some kits come from brands or companies that offer online communities or forums where you can share your projects, ask for advice, and exchange ideas with fellow beaders . Engaging with a supportive community can provide inspiration, encouragement, and troubleshooting tips, making your beading journey more enjoyable and rewarding. By considering these factors, you can choose a DIY beaded bracelet kit that aligns with your preferences, skill level, and creative goals, ensuring a fulfilling crafting experience.
Step-by-Step Guide to Making a Beaded Bracelet
Making your own beaded bracelet can be a fun and rewarding DIY project. Whether you’re a crafting novice or a seasoned pro, this guide will walk you through the steps to make your own beautiful beaded bracelet. Let’s dive into this easy-to-follow, step-by-step guide.
What You’ll Need
Before starting, gather the following materials:
0.8mm thread (No. 72 jade thread), two pieces, one 35cm and the other 70cm in length .
22 beads (6mm pearls recommended) .
A lighter .
Scissors .
Clasps such as lobster claw, toggle, hook and eye, magnetic, or button clasps (optional) .
Findings like jump rings, crimp beads, head pins, eye pins, or bead caps (optional) .
Step-by-Step Instructions
Step 1: Preparation
Start by preparing your threads. You’ll need two lengths: one shorter piece (35cm) and one longer piece (70cm) . From the start of the longer thread, measure and leave a 10cm tail—this will be your working area .
Step 2: Tying the First Knot
Using the shorter thread as the axis, take the longer thread and tie a square knot (also known as a “sparrow’s head knot”) around it . This will serve as the starting point for your bracelet .
Step 3: Stringing the Beads
Begin stringing your chosen beads onto the cord . You can fill the cord with beads or use fewer beads depending on your design preference . Ensure a sturdy construction by using beading thread or wire .
Step 4: Adding a Clasp (Optional)
Attach jump rings to each end of the bracelet, connecting them to the chosen clasp . This step is optional but recommended for a more finished look.
Step 5: Securing and Finishing
Secure the ends by tying knots or using crimps, and trim any excess thread or wire . If desired, add a dab of glue to the knot for extra security and let it dry .
Step 6: Adjusting for Comfort
Ensure the bracelet is comfortable to wear by making final adjustments to the length . Adjustments might be needed to ensure that the beads are snug against each other and the bracelet fits comfortably on your wrist.
Step 7: Forming the Adjustable Knot (For Cord Bracelets)
If you’re using an adjustable cord, follow these additional steps:
Overlap the open ends to form a ring slightly bigger than your wrist size .
Form a loop around your fingertip with one of the open ends and draw it under the main cord ring of the bracelet .
Form the second loop and tighten it to secure the adjustable knot .
Enjoy Your Bracelet
Slip your beaded bracelet onto your wrist and showcase your handmade creation. With your new skill of making bead bracelets, you can make wonderful gifts for friends or unique pieces to match your own style. Happy beading!
Tips and Tricks
When embarking on your beading journey, the following tips and tricks can help ensure success and enjoyment in creating your DIY beaded bracelets.
Properly Attaching Clasps for Durability
Consider the size and weight of your bracelet when selecting a clasp. Use jump rings to attach the clasp securely to the ends of your bracelet, ensuring they are closed tightly to prevent the clasp from coming loose.
Creating Wrapped Loops for Added Durability
Wrapped loops provide extra security and a decorative touch to your bracelet components.
- Cut a length of wire and use round-nose pliers to grip the wire near one end.
- Rotate the pliers to form a loop and reposition them to complete the loop.
- Use flat-nose pliers to grip the loop and wrap the excess wire around the wire stem below the loop.
Trim any excess wire with cutters. *Pro Tip: Ensure the loop is closed securely to prevent beads from slipping through, and experiment with different wire thicknesses for varying looks and sturdiness.
Incorporating Charms and Pendants
Once you’ve mastered the basics, adding charms or pendants to your bracelet can give it a personalized touch. Use jump rings to attach these elements securely to your wire loops, creating focal points that make your creations truly unique. Check that clasps are properly attached to jump rings and that the connections are tight. For heavier bracelets, consider using additional jump rings for added security.
Consider Your Design and Color Coordination
Think about the style and design of the jewelry piece you want to create. Whether aiming for a delicate and dainty look or something bold and statement-making, cohesive color choices can enhance the overall aesthetic. Mixing textures and sizes can also add visual interest to your designs.
Cleaning and Sanitizing Beads
Clean and sanitize your beads to ensure they are free of dust, dirt, or any bacteria that could cause skin irritation or harm.
- Fill a bowl with warm water and a drop of mild soap.
- Add the beads to the bowl and let them soak for a few minutes.
Use a soft-bristled brush to gently scrub the beads.
Storage Solutions
To keep your beads organized and avoid the frustration of a messy workspace, consider using a sorted case. This not only reduces clutter but also enhances your efficiency when selecting beads for your projects. However, be mindful that certain storage options, such as those for alphabet beads, may limit design diversity due to uniform shapes and limited color themes.
Exploring Bead Patterns and Tutorials
Experimenting with different bead patterns can inspire new creations. Simple, single-stranded bracelets are a great starting point, but don’t shy away from trying multi-stranded designs as you gain confidence. Exploring tutorials, such as those for seed bead bracelets or unique themes like Stardust or Seashell Bracelets, can provide fresh ideas and techniques to incorporate into your projects. By utilizing these tips and tricks, you can enhance your beading skills, ensuring that your DIY bracelets are both beautiful and durable. Enjoy the process of creating unique pieces that reflect your personal style and creativity.
Advanced Beading Techniques
The art of beading, with its rich history and diverse cultural significance, transcends simple ornamentation, evolving into a sophisticated craft that demands precision, creativity, and an intimate understanding of materials and techniques. For artisans seeking to elevate their work, mastering advanced beading techniques is akin to a musician mastering complex compositions, where every bead plays a note in a symphony of textures, patterns, and colors.
Right Angle Weave (RAW)
Right Angle Weave (RAW) is a critical technique that every professional beader should master. This method involves threading beads at right angles to each other, creating a flexible, yet robust, lattice-like structure. RAW is particularly favored for its adaptability in creating both flat and dimensional beadwork. Its ability to interweave and combine with other stitches makes it a powerful tool for crafting intricate jewelry and decorative items. The fluidity and strength provided by RAW are unparalleled, making it a cornerstone technique in advanced beading projects. Basic right angle weave (RAW) gives you a flat structure that is great for making bracelets, necklaces, and bags. Variations include Cubic Right Angle Weave (CRAW) and Prismatic Right Angle Weave (PRAW), which allow for the creation of dimensional structures and complex patterns.
Materials and Tools
Advanced beading also involves a mastery of materials, as the choice of beads, thread, and findings can significantly impact the final piece. Artists learn to select materials that not only enhance the aesthetic of their work but also ensure its durability and wearability. For instance, nylon thread, known for its natural stretch and softness, is ideal for projects requiring multiple passes through beads, such as loomwork or beadweaving. Brands like K.O., Nymo, and Silamide are popular choices among beaders for their quality and range of colors.
Knotting Techniques
Knotting is a fundamental skill that adds both functionality and style to your beaded creations. Basic knots, such as the overhand knot and half-hitch knot, are essential for securing beads and adding new threads. For example, the overhand knot is frequently used to start or finish a strand of beads, while the half-hitch knot can hold beads in place or add new threads.
Experimentation and Creativity
The journey to mastering advanced beading techniques is one of continuous learning and experimentation. Artists must be willing to explore new methods, make mistakes, and push the boundaries of their creativity.
DIY Beaded Bracelet Kit Projects
Ultimate Bracelet Kit
The Ultimate Bracelet Kit offers all the supplies needed to create up to 80 unique bracelets, making it perfect for both beginners and experts alike. This comprehensive kit includes 32 colorful beads, a bead mat, pliers, cutters, needles, elastic cord, crimp beads, covers, and a step-by-step tutorial video. The beads in the kit are 100% authentic Japanese glass tile beads, ensuring high quality and durability.
- A wipeable bead mat with a built-in ruler for precise sizing.
- A leather case with a zipper containing seven different tools.
- 100 meters of high-quality, 0.5mm crystal cord elastic.
- Four lock-top needles, essential for bead threading.
- 100 crimp covers to neatly finish off the bracelet.
Miyuki Macrame Friendship Bracelets
For those interested in friendship bracelets, Miyuki macrame patterns offer a stylish and personal touch. These bracelets can be made with a variety of beads, such as silver-lined cranberry, dura coat galvanized muscat, opaque light peach, and transparent salmon luster beads. The recommended supplies for these projects include Hasulith jewelry glue, C-Lon beading cord, scissors, and a ruler. The process involves knotting techniques using Chinese knotting cord, making these bracelets both beautiful and durable.
DIY Beaded Alphabet Name Bracelets
Personalized letter beaded bracelets are a chic way to express yourself or show affection for friends. These bracelets require embroidery floss, a measuring tape, letter beads, and optionally, a Perler bead for spacing between words. The process involves simple threading and knotting techniques, making it an easy yet meaningful project.
Boho-Style Wrap Bracelets
Creating boho-style wrap bracelets is an effortless way to achieve a fashionable look. You’ll need colorful beads, thin needles, and thread. The thread should be cut to a length that fits comfortably around the wrist when doubled. Optionally, secure the thread to a clipboard or cardboard using paper clamps to facilitate the beading process. Once the desired bead pattern is achieved, tie both ends together to complete the bracelet.
Beaded Daisy Chain Bracelet
The beaded daisy chain bracelet is another fun project that allows for creativity. Begin by measuring the length of your wrist and cutting the cord accordingly. String beads in any desired pattern, then tie knots at each end for an adjustable closure. This project is simple yet yields a stunning result.
Stretch Bracelets
Stretch bracelets are quick and easy to make. Begin by wrapping an elastic cord around your wrist to determine the length needed. After marking the correct length, string beads onto the cord, and tie off the ends for a secure fit. This method allows for a variety of bead shapes, colors, and sizes to be used, making each bracelet unique.
Infinity Bracelet
The infinity bracelet, characterized by its continuous loop design, is one of the simplest to create. Using stretch floss or an elastic cord, you can make a bracelet that is easy to remove and wear without needing a clasp. This method is perfect for beginners who want a straightforward yet stylish accessory.
Adjustable Knot Bracelet
An adjustable knot bracelet is made by preparing a cord that is 2.5 to 3 times the length of your wrist.
Community and Resources
Connecting with Others
The act of sharing your beginner projects creates connections within the beading community. Engage with fellow beaders, exchange ideas, and forge friendships based on a shared passion for this craft. The bonds formed within the community often become a source of inspiration and encouragement. Consider joining online forums, social media groups, or local crafting communities to connect with like-minded individuals. The support and camaraderie within this community can be a wellspring of inspiration and encouragement.
Fostering Community
Beading is not just a solitary endeavor; it’s a community-driven craft. By showcasing your projects, you contribute to a supportive and encouraging environment where beginners feel welcome to share their own creations, seek advice, and learn from one another. Sharing your projects opens the door to constructive feedback from the beading community, which is invaluable in honing your skills and expanding your repertoire.
Sharing Your Work on Social Media
Create dedicated accounts or boards on platforms like Instagram and Pinterest to display your bracelet designs. Use high-quality photos and engaging captions to share your creative process. Utilize relevant hashtags to connect with the DIY and crafting communities, and join groups or forums to exchange ideas and get feedback.
Creating a Portfolio
As you continue your beading adventure, your showcased beginner projects contribute to building a portfolio of your work. This portfolio not only serves as a visual record of your achievements but can also be a valuable resource if you decide to pursue selling your creations or participating in craft shows. The courses available through platforms like Domestika often include forums where you can interact with the teacher and other students, providing additional opportunities to share your work and receive feedback.
Online Courses and Tutorials
Platforms like Domestika offer online classes that provide you with the tools and skills you need to complete specific projects. These courses combine video lessons with complementary instructional materials, and they allow you to share your projects with the teacher and other students, creating a dynamic learning community. Each course includes lessons, informational text, tasks, and practice exercises to help you carry out your project step by step, with additional complementary resources and downloads.
Utilizing Resources
Explore advanced techniques, experiment with new materials, and push the limits of your design capabilities as you continue your beading journey. Whether you’re creating jewelry for personal enjoyment, as thoughtful gifts, or to share with the world through online marketplaces like Etsy, the possibilities are endless. Additionally, many suppliers like PotomacBeads and Halstead offer a wide range of high-quality jewelry making supplies that can help you expand your repertoire and improve your creations.
Benefits of DIY Beaded Bracelet Making
Creating your own beaded bracelets offers a multitude of benefits, making it an enjoyable and fulfilling activity for individuals of all ages.
Relaxation and Stress Relief
Engaging in beaded bracelet making can be a meditative and therapeutic activity. The repetitive nature of threading beads can help reduce stress and anxiety, providing a calming effect that many find relaxing and rewarding. Completing a bracelet brings a sense of accomplishment and pride, enhancing overall well-being.
Creativity and Personal Expression
DIY beaded bracelets allow for endless creativity and personal expression. By experimenting with different materials such as glass, wood, metal, and semi-precious stones, you can create unique pieces that reflect your individual style and personality
. The freedom to play with colors and patterns enables you to design bracelets that match your mood, outfit, or a specific theme, making each piece truly one-of-a-kind.
Versatility and Customization
One of the standout benefits of making your own beaded bracelets is the ability to customize and adjust them to fit any wrist size or style preference. This versatility ensures that your creations can be tailored to suit different occasions or outfits. Mixing and matching various beads and patterns can result in stunning, original pieces perfect for layering or stacking, adding a trendy and personalized touch to your accessories.
Skill Development
Beaded bracelet making is not only fun but also educational. As you explore different techniques and materials, you’ll gain new skills and improve your craftsmanship. Embracing mistakes as learning opportunities will help you refine your abilities and grow more confident in your creative endeavors. Keeping a journal to document your designs and techniques can also serve as a valuable reference for future projects and a way to track your progress.
Inspiration and Community
Drawing inspiration from nature, art, and everyday life can spark new ideas for your beading projects, ensuring that your creativity continues to flourish. Sharing your completed pieces on social media or creating a portfolio can inspire others and foster a sense of community among fellow beading enthusiasts. Notable crafters like Heidi Kundin have built vibrant online communities where creativity and inspiration thrive, offering valuable insights and encouragement for DIY enthusiasts. Happy beading, and may your creativity continue to flourish
Comments
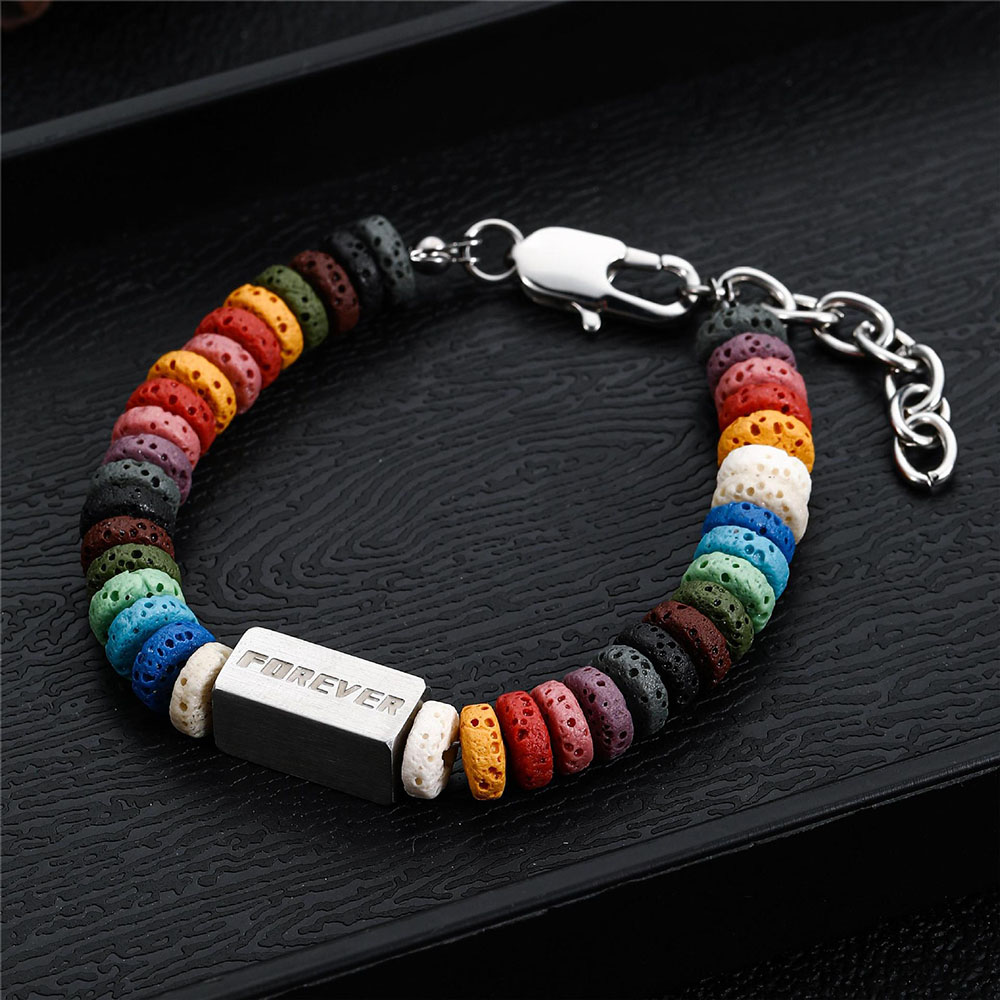
How to Create and Explore Bracelet Bead Drawings: Ideas, Patterns, and Tutorials
Tags
Recent Blogs
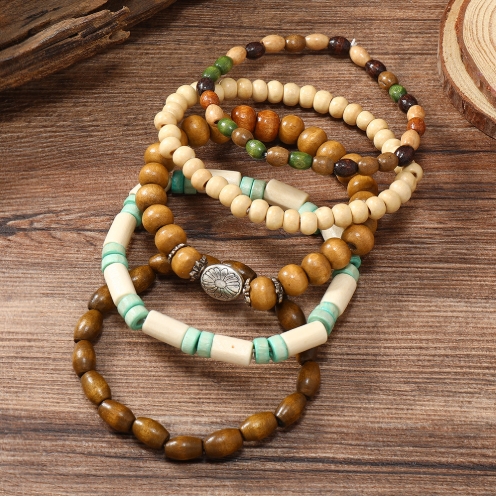
Beaded Stretch Bracelets in Bulk: A Guide to Wholesale Options
Beaded stretch bracelets are versatile, fashionable, and perfect for any occasion.
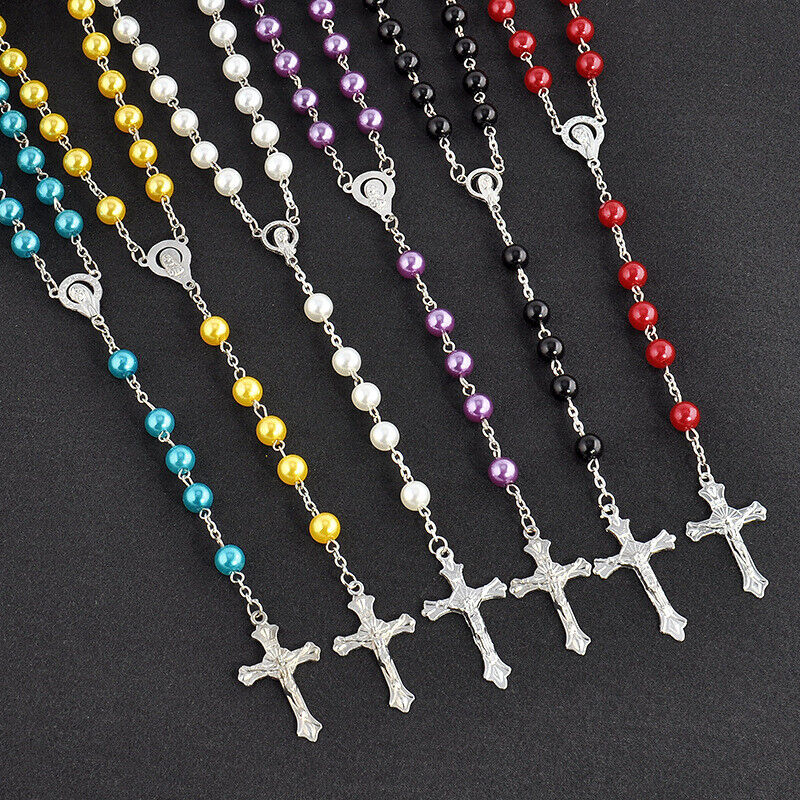
Beaded Cross Necklaces: A Timeless Symbol of Faith and Style
A beaded cross necklace is more than just an accessory; it’s a profound symbol of faith, individuality, and artistry.
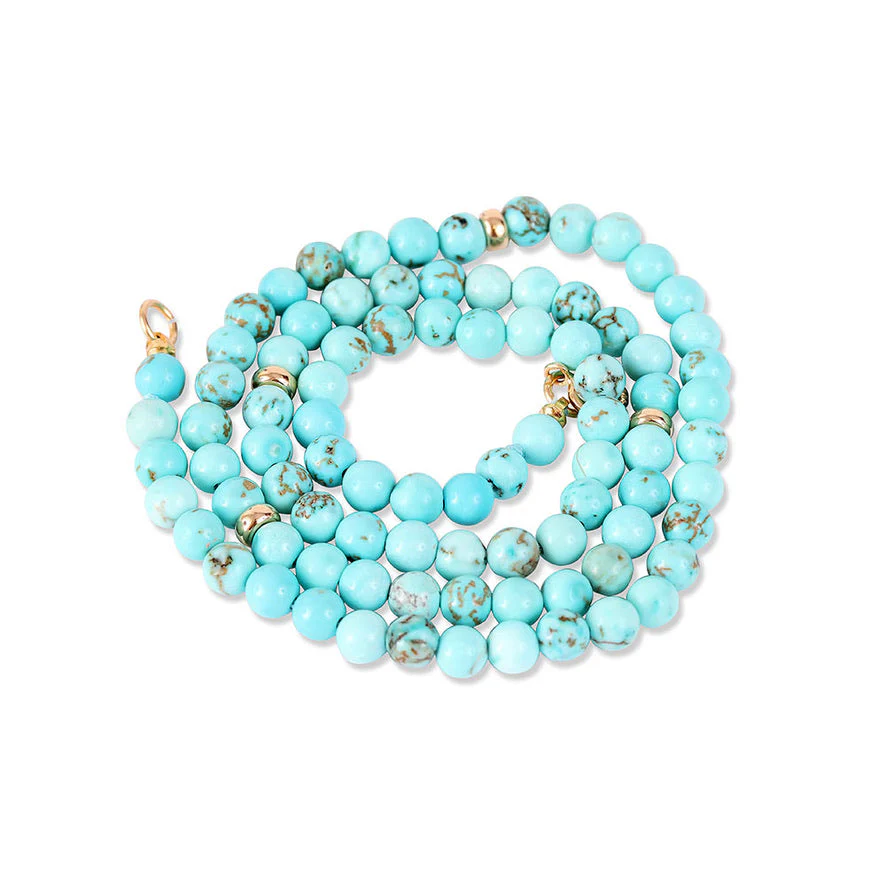
Beaded Turquoise Necklaces: Timeless Elegance and Cultural Charm
Beaded turquoise necklaces are iconic pieces of jewelry that combine natural beauty, cultural significance, and versatile style.

