Top 10 Bracelet Bead Designs You Can Create at Home

Top 10 Bracelet Bead Designs You Can Create at Home" explores the rich tradition and contemporary artistry involved in crafting beaded bracelets.

The history of bracelet bead designs spans centuries and continents, with notable examples from Native American, African, and Indian cultures, each contributing unique techniques and symbolic meanings to the art form. Beaded bracelets have been used not only as decorative items but also for spiritual, social, and even monetary purposes.Creating your own beaded bracelets at home offers a personal connection to these traditions while allowing for limitless creativity. The article delves into a variety of designs that can be crafted with basic materials and tools, making it accessible for both beginners and experienced jewelry makers. Each design, from the simple single strand to the intricate braided bead bracelet, includes step-by-step instructions, material lists, and tips for customization. In addition to the detailed design guides, the article also covers essential techniques like stringing, knotting, and weaving, as well as incorporating different patterns and embellishments to add depth and personalization to your creations. Whether you’re looking to make a minimalist piece or an elaborate multi-strand bracelet, the guide provides a comprehensive overview to help you achieve professional-quality results. By following this guide, readers can craft beautiful, personalized jewelry that reflects their own style while paying homage to the rich history and cultural significance of beaded bracelets. Whether for personal wear or as thoughtful handmade gifts, these bracelet designs offer a fulfilling and creative hobby.

Table of Contents

History of Bracelet Bead Designs

Bracelet bead designs have a rich historical background and cultural significance that span various regions and eras. Beaded bracelets have been used for centuries, not only as decorative items but also for spiritual and symbolic purposes[1]

. Different cultures have developed unique beadwork styles that reflect their environment, beliefs, and societal structures. In Native American cultures, beadwork began as a practical and artistic expression compatible with their nomadic lifestyle[2]. Early beadwork involved carving beads from natural materials such as bone, shells, and porcupine quills, which were then used to create intricate patterns and designs on clothing, leather goods, and jewelry. The arrival of European settlers introduced glass beads, revolutionizing Native American beadwork by enabling more elaborate and colorful designs. Similarly, African beadwork has a deep historical context. Beads were integrated into traditional attire and served as visual markers of social roles and identities. With the introduction of beads through colonial trade, African artisans began to blend traditional forms with new materials, creating innovative designs that symbolized both resistance and adaptation. In other parts of the world, such as India, beaded bracelets have been made using pearls and white beads, often symbolizing purity and spiritual significance. The craftsmanship and intricate designs associated with these bracelets reflect the cultural values and artistic heritage of their creators. Beaded bracelets also held practical uses, such as being used as currency in various ancient trade systems. The spiritual and healing properties attributed to different gemstones further enhanced their value and significance. Modern beaded bracelets continue to draw inspiration from these rich traditions. They are not only fashionable accessories but also carry the cultural and historical narratives of their origins. The meticulous craftsmanship and unique designs of handmade beaded bracelets provide a tangible connection to the past while allowing individuals to express their personal style.

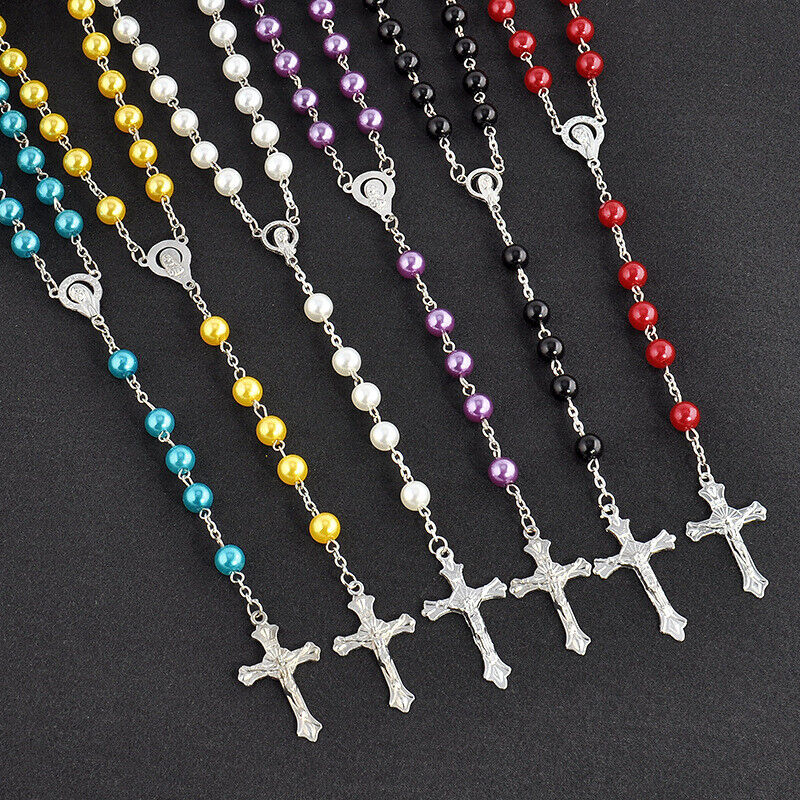
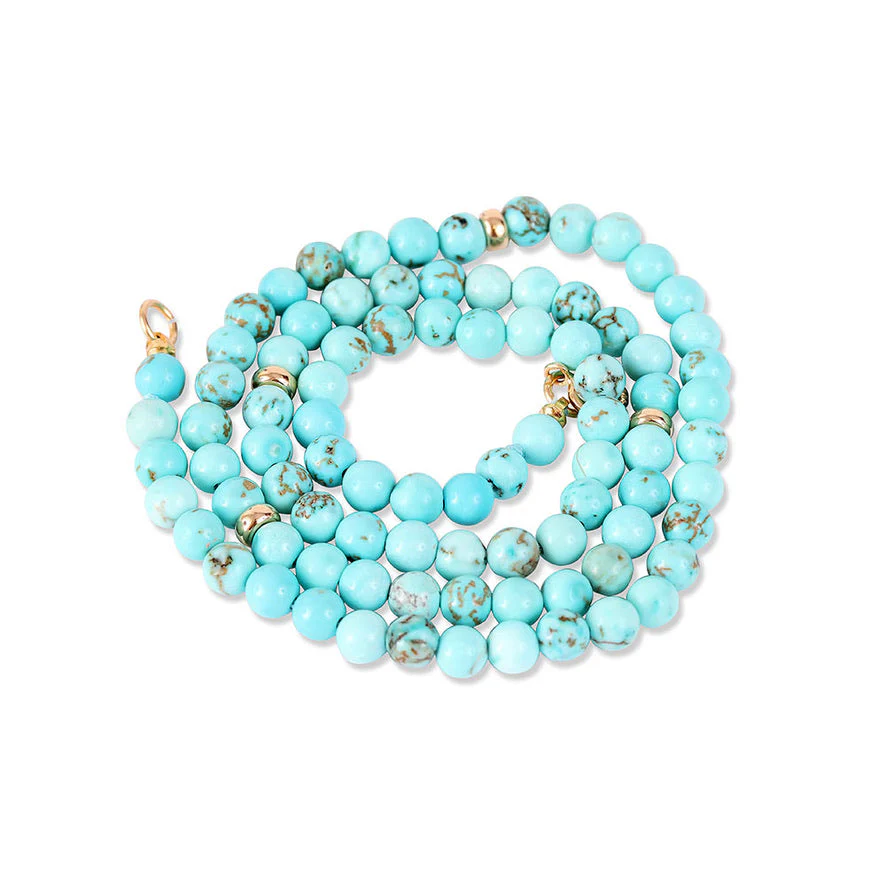
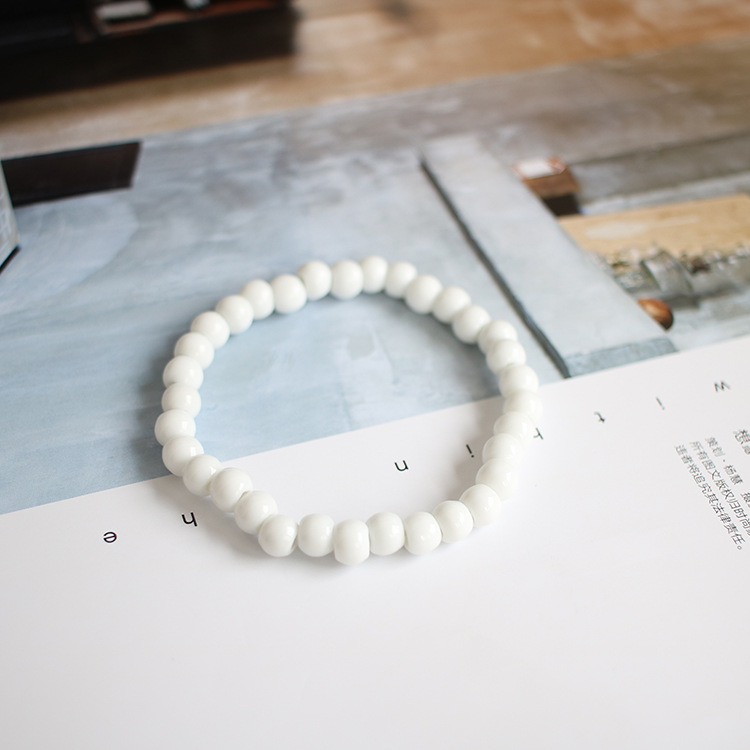
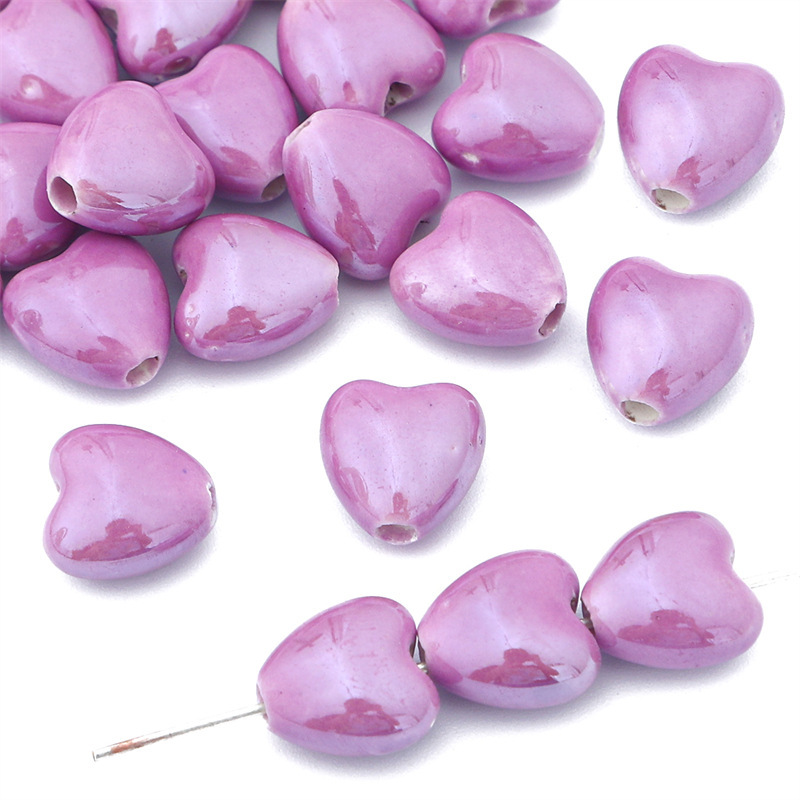
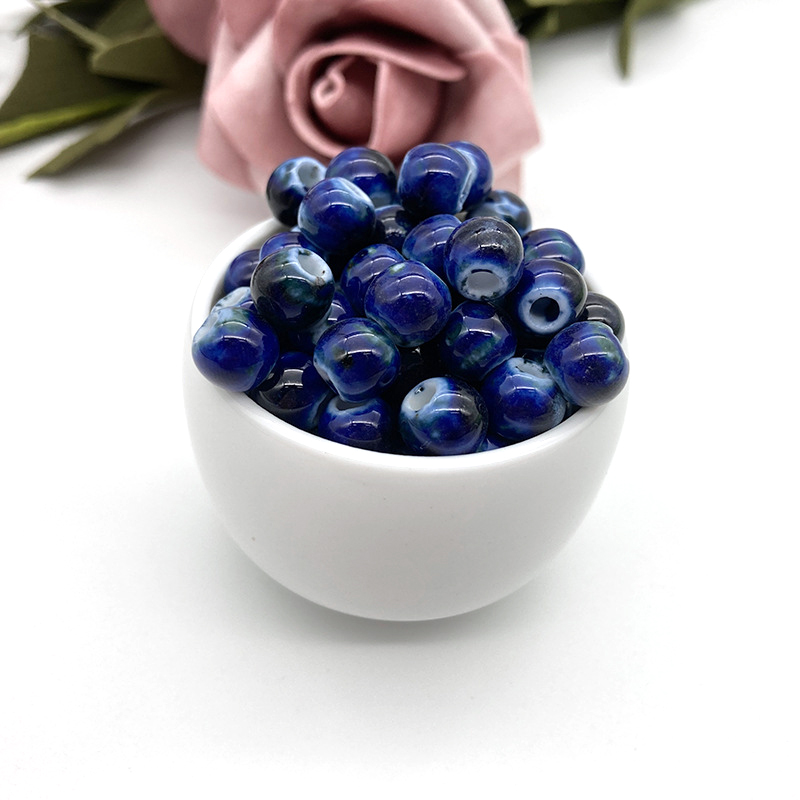
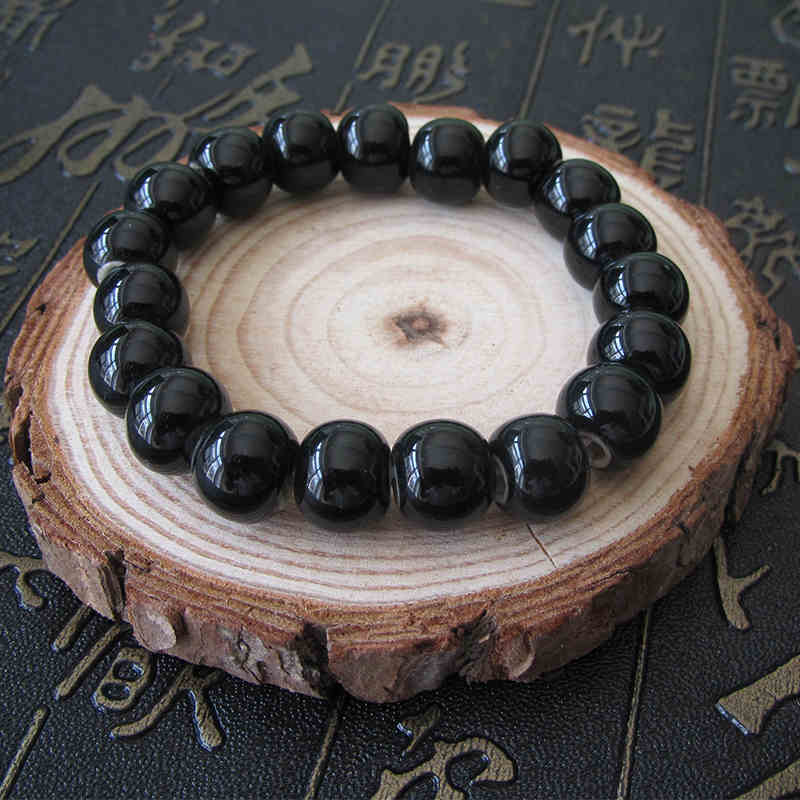
bracelet beads

Materials Needed

Creating stunning bracelet bead designs at home requires the right tools and materials.

Basic Techniques

When it comes to making bracelets from beads, there is a wide variety of techniques available, suitable for all skill levels. Whether it’s a simple single-strand bracelet or an intricate woven pattern, there’s an option for every taste and design.

Stringing Beads on a Cord

The most basic technique involves stringing beads on a cord. This method is as simple as it sounds and involves threading beads onto a string or cord in either single or multiple strands. To begin, select the cord of your choice, a beading needle (if needed), and your desired beads. Create a knot at one end of the cord and start threading the beads onto the cord, keeping the knot tight. You can choose to create a pattern with the beads or mix them up to create a unique design. Once the beads are all on the cord, tie another knot to secure them in place, and add a clasp to finish the bracelet.

Adding Clasps to Secure the Bracelet

Without a clasp, the bracelet won’t stay put on the wrist. While the design and style of the clasp depend on personal preference, it’s important to ensure that it’s secure and easy to use. Popular options for clasps include lobster clasps, which are easy to use and come in a variety of sizes and styles; toggle clasps, which are useful for bracelets with heavier beads since they can offer additional security; and magnetic clasps, which are simple to use but not as secure as other options.

Incorporating Different Patterns

Experimenting with different patterns can help you create different rhythms and flows by arranging your beads in various ways. You can choose from symmetrical, asymmetrical, random, or repeating patterns. These patterns can also carry different meanings, such as geometric, floral, or abstract designs. The technique of weaving the beads together is also critical, with methods like the single-thread and double-thread techniques being used to create flat or more robust and flexible pieces.

Personalizing and Customizing with Charms and Embellishments

Adding charms and other embellishments can make the bracelet more personal and meaningful. Popular embellishments include birthstones to represent the wearer’s birth month or the birth months of family members, and initials of the wearer or loved ones. These elements can add a unique touch to your bracelet and make it stand out.

Experimenting with Different Materials

Trying out different materials can enhance the look and feel of your bracelet. You can experiment with wire wrapping, knotting, weaving, or braiding to create various structures and designs. These techniques can range from simple to complex, allowing for a wide array of creative expressions. Additionally, micro-macramé techniques can be used to create intricate patterns using small knots, and beads can be incorporated into macramé designs for a bohemian and textured appearance.

Design 1: Simple Single Strand

The Simple Single Strand bracelet is a timeless and versatile design that can be easily customized to fit any personal style. This classic approach to bracelet making involves stringing beads onto a single strand of cord, creating a sleek and elegant piece of jewelry.

Materials and Tools

To create a Simple Single Strand bracelet, you will need a few essential supplies and tools:

  • Cord or Wire: Flexible beading wire, such as the nylon-coated stainless steel varieties (7 strand, 19 strand, or 49 strand), is ideal for this project. The 49 strand wire offers the highest quality and flexibility, while the 7 strand is the most economical choice.
  • Beads: Choose beads that match your desired style and color scheme. Experiment with different sizes and materials to create a unique design.
  • Crimp Beads: These are essential for securing the ends of the wire and attaching the clasp
  • Clasp: Select a clasp that matches the style of your bracelet, such as a lobster claw or toggle clasp
  • Basic Tools: You will need pliers (round nose, chain nose, and flat nose), wire cutters, and a ruler to measure the length of your bracelet

Classic Elegance

A single-strand bracelet embodies classic elegance and is suitable for a variety of occasions. This design allows for endless experimentation with different bead arrangements, giving each bracelet a unique and personalized touch. Whether using beads of uniform size and color for a sophisticated look or mixing sizes and hues for a more eclectic style, the single-strand bracelet remains a staple in any jewelry collection

Minimalist Chic

For those who prefer a minimalist aesthetic, a single cord with a focal bead or charm can make a bold statement. This design emphasizes simplicity and elegance, making it a perfect accessory for both casual and formal outfits. A minimalist single-strand bracelet is not only easy to create but also versatile enough to complement any ensemble

Step-by-Step Process

  1. Prepare the Cord or Wire: Cut a length of cord or wire slightly longer than your desired bracelet length. This will allow room for attaching the clasp.
  2. String the Beads: Begin stringing your chosen beads onto the cord or wire. Arrange them in a pattern that suits your design preference.
  3. Secure the Ends: Once all the beads are in place, use crimp beads to secure the ends of the wire. Slide a crimp bead onto the wire, followed by the clasp, and then loop the wire back through the crimp bead. Use crimp pliers to squeeze the crimp bead tightly, ensuring the clasp is securely attached.
  4. Trim Excess Wire: Trim any excess wire close to the crimp bead to give your bracelet a neat finish. By following these steps, you can create a beautiful Simple Single Strand bracelet that reflects your personal style and creativity

Design 2: Double Strand Bracelet

Creating a double strand bracelet adds an extra layer of complexity and visual appeal to your beaded jewelry. This design involves using two strands of cord or wire, allowing for greater creativity and customization in bead selection and patterning.

Step-by-Step Instructions

 1. Measure the length of your wrist and cut two pieces of cord or wire, adding a few extra inches to each piece to allow for adjustments and securing the ends

 2. Begin by attaching one end of both cords to the clasp using crimp beads. Use your crimping pliers to secure the crimp beads tightly, ensuring that the clasp is firmly attached

 3. Start stringing beads onto both strands. You can either string the same beads on both strands for a uniform look or mix and match different beads for a more eclectic design. Experiment with various bead arrangements to achieve the desired pattern

 4. Once you have added the beads to both strands, finish by attaching the other end of each cord to the other half of the clasp using crimp beads. Ensure that the crimp beads are securely fastened with your crimping pliers

 5. For a polished look, you can use knot covers over the crimps. This adds a professional finish to your bracelet and conceals the crimp beads

Materials and Tools Needed

To craft a double strand bracelet, you’ll need the following materials and tools:

  • Beading Cord or Wire: Choose a durable material like Flexrite wire for added strength and flexibility 
  • Beads: Select a variety of beads that complement each other in terms of color, size, and style 
  • Crimp Beads: Essential for securing the ends of your bracelet.
  • Clasps: To provide a secure closure for your bracelet.
  • Needle Nose Pliers, Round Nose Pliers, and Crimping Pliers: For handling and securing the beads and crimp beads 
  • Scissors or Wire Cutters: For cutting your cord or wire to the desired length

Tips for Success

  • Pattern Experimentation: Don’t hesitate to experiment with different bead patterns, such as alternating colors or creating a symmetrical arrangement, to enhance the visual appeal of your double strand bracelet 
  • Custom Fit: Ensure a custom fit by measuring your wrist accurately before cutting the cord. This step helps in achieving a comfortable and well-fitting bracelet 
  • Tool Maintenance: Regularly clean and maintain your tools to ensure they remain in good condition. Proper care of your tools will enhance your crafting experience and the quality of your finished jewelry pieces . With these steps and tips, you can create a stunning double strand bracelet that showcases your creativity and personal style. Whether for special occasions or everyday wear, this design offers a versatile and elegant addition to any jewelry collection.

Design 3: Beaded Charm Bracelet

The beaded charm bracelet has enjoyed a storied history and remains a cherished piece of jewelry for many. Originating around 600 B.C., this design has evolved into a timeless classic that allows individuals to display tokens of their life’s affections

The versatility and personal touch make it an endearing accessory for people of all ages. Creating a beaded charm bracelet involves selecting a variety of charm beads that resonate with the wearer’s personal experiences or interests. To start, gather your essential tools such as needle nose pliers, round nose pliers, and wire cutters

Using these tools, you can easily manipulate the wire and attach the charms securely to the bracelet base. One popular method is to use elastic to string the beads and charms. This approach not only simplifies the process but also ensures the bracelet is comfortable and easy to wear. Opt for charm beads that hold sentimental value, such as initials, birthstones, or small tokens representing significant milestones

The elastic nature of the bracelet allows for a one-size-fits-all solution, making it an ideal gift option for friends and family. To further personalize the design, consider mixing different bead types such as flat clay beads, letter beads, and gold ring beads. This combination not only adds visual interest but also enhances the bracelet’s overall appeal. For instance, using flat clay beads alongside letter beads can create a unique look while maintaining a comfortable fit on the wrist.

Beaded charm bracelets offer endless customization possibilities, making them a cherished accessory for any occasion. Whether it’s a casual outing or a formal event, these bracelets provide a stylish way to showcase personal stories and cherished memories.

Design 4: Stretch Bracelet

Stretch bracelets are among the simplest and most versatile types of bead bracelets you can create at home. They are quick to assemble and require minimal tools, making them an ideal project for both beginners and experienced crafters. Stretch bracelets can be designed to suit any style, from casual everyday wear to more elegant occasions, depending on the beads and patterns you choose.

Materials Needed

To make a stretch bracelet, gather the following materials and tools

  • Stretch magic elastic string
  • G-S hypo cement
  • Beads of your choice
  • Crimp covers (optional)
  • Pliers (if using crimp covers)
  • Beading needle (optional, recommended for tiny beads like seed beads)
  • Scissors
  • Bead board

Choosing Beads

When selecting beads for your stretch bracelet, opt for lightweight beads without sharp edges to avoid damaging the elastic cord. Seed beads are a great choice due to their small size and smooth holes. Other suitable options include plastic beads, wood beads, and shell beads

Tips for Success

  • Ensure your beads have smooth holes to prevent fraying the elastic.
  • Pre-stretch your elastic cord to maintain the bracelet’s shape over time.
  • Apply glue to the knot for added security and durability.By following these simple steps and tips, you can create a variety of stylish and durable stretch bracelets to complement any outfit or make thoughtful handmade gifts. Enjoy the creative process and the personal touch that comes with crafting your own jewelry!

Design 5: Braided Bead Bracelet

Braided bead bracelets are a captivating and intricate way to showcase your beading skills. This design combines the techniques of braiding and beading to create a textured and visually appealing accessory.

Getting Started

To create a braided bead bracelet, you’ll need a few essential materials: a selection of beads, three strands of cord or wire, and possibly some clasps or knot covers depending on your chosen design . Start by cutting three equal lengths of cord or wire, ensuring they are long enough to wrap around your wrist with some extra length for tying off or adding clasps.

Braiding Techniques

Three-Strand Braiding

The most straightforward approach to creating a braided bead bracelet is to use the three-strand braiding technique. This method involves taking three strands of cord or wire, which can be pre-beaded or plain, and braiding them together to form a cohesive bracelet. You can experiment with different colors and bead sizes to add visual interest .

Incorporating Beads into the Braid

To add beads to your braid, start by stringing a few beads onto each strand before beginning the braiding process. As you braid, periodically slide a bead up the strand so that it becomes interwoven into the braid itself. This technique allows for a dynamic and textured look that can be customized to your taste .

Creating Patterns

Simple Bead Stringing

For those who prefer a more straightforward approach, you can create a stunning bracelet by stringing beads onto each strand before starting the braid. Play with different colors and sizes of beads to achieve a customized look that reflects your personal style .

Patterned Delight

To enhance the visual appeal of your braided bead bracelet, consider experimenting with basic bead patterns. Alternating colors or creating a symmetrical arrangement can add an extra layer of complexity and beauty to your design .

Combining Materials

For a more eclectic look, try combining different materials such as wooden beads, metal charms, or gemstones into your braided design. This fusion of textures and colors can create a unique bracelet that stands out 

Finishing Touches

Once your braided bead bracelet is complete, you can finish it off by tying the ends together or using clasps for a more polished look. Adding a charm or pendant can also provide a personal touch to your creation 

. Braided bead bracelets offer a versatile and creative way to express your style. Whether you opt for a simple three-strand braid or a more complex pattern, this design is sure to make a statement.

Design 6: Memory Wire Bracelet

Memory wire is an intriguing material widely used in jewelry making. This type of steel wire is particularly popular because it retains its cold-forged shape, making it ideal for creating stacked or spiraled bracelet designs. The material is flexible enough to slide onto your wrist but rigid enough to maintain its form, ensuring that your jewelry keeps its intended appearance over time. One of the key features of memory wire is its ability to completely hold its shape, which simplifies the process of creating bracelets and necklaces. To make a memory wire bracelet, you only need to string the beads onto the coil and secure them with a small loop or end cap. The wire itself is typically made from stainless steel or carbon steel, which contributes to its durability and long-lasting shape retention. Memory wire bracelets are great for multi-strand, bangle-style designs and can also be used to make choker necklaces, wine charms, and napkin rings. The versatility of memory wire makes it a favorite among both beginners and experienced jewelry makers. To finish a memory wire bracelet, simply make a small loop at each end of the wire to prevent the beads from slipping off. For added security, some jewelry makers suggest using two cords instead of one, especially when working with stretchy designs. This approach makes the bracelet more durable and capable of withstanding the movements and potential wear and tear it might encounter. Adding a second stretchy cord can also make the jewelry feel more solid and steady. To further enhance the look of your memory wire bracelet, you can use silk thread to add a sophisticated touch. Silk thread is a classic stringing material that provides great tensile strength and an elegant drape, perfect for creating knotted necklaces and bracelets. Whether you’re a novice or a seasoned jewelry maker, crafting a memory wire bracelet is a fun and rewarding project that showcases the unique properties of this remarkable material.

Design 7: Beaded Cuff Bracelet

Beaded cuff bracelets are a stunning and versatile accessory that can be tailored to suit any personal style. These bracelets have a rich history, dating back over seven thousand years, with ancient Egyptians, Romans, and Greeks using cuffs as status symbols. Modern beaded cuff bracelets, however, offer a playful and contemporary twist to this historical accessory.

Materials and Tools Needed

Creating a beaded cuff bracelet involves a variety of materials and tools. You’ll need a selection of beads—opt for bright, candy-colored beads to craft a playful, eye-catching cuff that adds a pop of color and whimsy to your wrist. Essential tools for this project include pliers (round nose, chain nose, and flat nose), wire cutters, scissors, and a ruler. A bead board and crimping tool are also helpful for arranging and securing your beads.

Crafting Process

For those new to jewelry making, starting with a simple threading pattern is recommended. This straightforward approach allows you to create an elegant accessory with minimal effort.

  1. Plan Your Design: Use a bead board to layout your beads in the desired pattern. This helps visualize the final look and make any necessary adjustments before you start threading.
  2. Prepare Your Wire: Cut a length of memory wire, which is ideal for creating cuff bracelets due to its sturdiness and ability to retain shape. The wire should be long enough to wrap around your wrist comfortably, with some extra length for securing the ends.
  3. Thread the Beads: Start threading your beads onto the wire. You can use a combination of different colors, shapes, and sizes to create a unique design. Beaded cuff bracelets allow for great creativity, so feel free to experiment with various bead types, including lava beads, White Howlite, AA Yellow Tiger Eye, and Black Onyx.
  4. Secure the Ends: Once all the beads are in place, use your round nose pliers to create a small loop at each end of the wire. This prevents the beads from sliding off and adds a finished look to your bracelet.
  5. Add Finishing Touches: If desired, you can add charms or additional decorative elements to personalize your bracelet further. Leather braided wristlets and cuffs often feature various decorative elements like charms, gemstones, and plaques, making them a versatile option.

Styling Tips

Beaded cuff bracelets are highly versatile and can be paired with various outfits. Since they’re heavy and chunky, you can wear them with dainty earrings and pendants to balance the look. Alternatively, let the cuffs be your statement piece by omitting other jewelry pieces altogether. For those looking to add a boho-chic vibe, pairing a beaded cuff with a boho bracelet can turn heads and showcase a multitude of colors[20]. Crafting a beaded cuff bracelet is a delightful way to express your creativity and style. Whether you’re making one for yourself or as a thoughtful gift, the result is sure to be a beautiful and cherished accessory.

Design 8: Beaded Wrap Bracelet

Exploring the art of DIY beaded wrap bracelets can be quite rewarding. These bracelets wrap around the wrist multiple times, creating a layered effect that’s casually chic. The process is simple and allows for a high degree of personalization. First, gather your materials. You’ll need colorful beads, thin needles, thread, and some basic tools like scissors and possibly a clipboard or cardboard for securing your work as you bead. Start by cutting a length of thread that fits comfortably around your wrist when doubled. Optionally, secure the thread to a clipboard or piece of cardboard using paper clamps to keep it taut and manageable as you work. Once your thread is prepared, you can begin stringing the beads onto the thread one by one using the needle. The design and pattern of your beads can vary greatly depending on your personal style and creativity. Varying the colors and sizes of the beads adds depth and texture to your creation, making each bracelet a unique work of art. After you’ve strung all your beads and achieved the desired length, tie both ends of the thread together neatly. This completes your unique boho-style wrap bracelet, which can be worn as a statement piece or layered with other bracelets for a more eclectic look. Whether you are a beginner or an expert, the beaded wrap bracelet is a versatile and fashionable project that allows you to express your creativity while mastering the basics of beading.

Design 9: Multi-Strand Bracelet

Multi-strand bracelets offer an elegant way to add layers and texture to your wristwear. These designs can range from simple and subtle to elaborate and bold, depending on the materials and techniques used.

Classic Elegance

A timeless option for a multi-strand bracelet is to use a combination of different beads and cords. You can start with a single-strand bracelet and multiply it by using various bead arrangements to create a personalized touch. This approach allows you to mix different types of beads, such as Miyuki beads in assorted colors and finishes like silver-lined cranberry, dura coat galvanized muscat, and transparent salmon luster, to achieve a vibrant and cohesive look.

Minimalist Chic

For a minimalist approach, consider using a single cord with focal beads or charms spaced evenly across multiple strands. This style can still make a statement without overwhelming the wrist. Opt for subtle yet sophisticated beads, such as 14kt gold filled spacer beads or letter beads for customization, all threaded on a durable stretch wire.

Braided and Twisted Techniques

Braided and twisted techniques add another dimension to multi-strand bracelets. Start by braiding three strands together, experimenting with different colors and textures for a visually interesting piece. Alternatively, twisting cords together can create a dynamic and eye-catching effect, ideal for adding a unique flair to your design.

Layered Bead Patterns

Experiment with beaded patterns across multiple strands to enhance the visual appeal. Simple bead stringing can be used on each strand, varying the colors and sizes of the beads to create a customized look. Patterned designs, like alternating colors or symmetrical arrangements, can also be used to add complexity and depth to the bracelet.

Tools and Materials

To create a multi-strand bracelet, you will need some essential tools and materials. Basic tools like pliers (round nose, chain nose, and flat nose), wire cutters, and scissors are necessary to manipulate and assemble your materials. Additionally, beading cords, needles, and crimping tools are essential for securing the beads in place and achieving a professional finish. By combining these techniques and materials, you can craft a stunning multi-strand bracelet that reflects your personal style and creativity. Whether you opt for a classic, minimalist, or intricate design, multi-strand bracelets offer endless possibilities for customization and flair.

Design 10: Beaded Friendship Bracelet

Creating a beaded friendship bracelet is an excellent way to show appreciation and love for your friends through a personalized and handmade gift. This DIY project is both easy and enjoyable, making it a popular choice among crafters of all ages.

Step-by-Step Instructions

  1. Cut your chosen cord into appropriate lengths, generally around 3 feet for embroidery floss or a length that comfortably wraps around your wrist with some excess for tying.
  1. Thread the beads onto the cord. If using letter beads, arrange them to spell out a name or a meaningful word. For additional design elements, mix in decorative beads.
  1. Use Chinese knotting techniques or simple knots to secure the beads in place and create patterns. Follow online tutorials or instructions for different knotting methods if necessary.
  1. Once your design is complete, tie off the ends of the cord. If using elastic cord, ensure a snug fit by tying a secure knot and trimming any excess.
  1. If you opted for a button, sew or tie it onto one end of the bracelet. Loop the other end of the bracelet around the button to fasten it.

Materials Needed

To make a beaded friendship bracelet, you will need the following materials:

  • Cord: Choose between Chinese knotting cord, embroidery floss, or elastic cord depending on the desired style and flexibility.
  • Beads: Options include letter beads for personalization, 4mm metal beads, 6.5mm pony beads, and 5mm decorative beads to add flair.
  • Button: Used as a clasp or decorative element.
  • Tools: Essential tools include scissors, a ruler or measuring tape, a needle, and optionally, a clipboard or safety pin to hold your bracelet in place while you work.

Additional Tips

  • Choose the Right Beads and Patterns:Selecting the right beads and patterns can enhance the bracelet’s style. Consider the recipient’s favorite colors, symbols, or initials when personalizing the bracelet.
  • Tool Care:
  • Maintain your tools to ensure they remain in good working condition. Regularly clean and lubricate pliers and store them in a dry place to prevent rusting. By following these simple steps and tips, you can create beautiful, personalized beaded friendship bracelets that are sure to delight your friends. Whether for a special occasion or just because, these handmade tokens of affection carry a personal touch that store-bought gifts simply cannot match.

Popular Techniques

When creating bracelet bead designs at home, experimenting with various techniques can significantly enhance the complexity and appeal of your pieces. By exploring different methods, patterns, and sources of inspiration, you can craft unique and stunning bracelets.

Techniques

Experimenting with techniques such as wire wrapping, knotting, weaving, or braiding allows you to manipulate materials to create diverse structures and designs. Each method can offer different levels of difficulty, catering to both beginners and experienced crafters. For instance, while simple knotting can produce elegant bracelets, more complex weaving can result in intricate designs.

Patterns

Incorporating different patterns, such as symmetrical, asymmetrical, random, or repeating, can add rhythm and flow to your designs. Patterns can also carry specific meanings, such as geometric shapes or floral motifs, which can provide a deeper layer of significance to your jewelry. For example, traditional Zulu beadwork often features geometric designs like triangles and diamonds, which hold symbolic meanings relating to gender and social relationships.

Sources of Inspiration

Drawing inspiration from various sources, such as books, magazines, websites, blogs, videos, tutorials, or online classes, can help you learn new skills and ideas. Following instructions from experts or other beaders can be invaluable, but don’t hesitate to use your own imagination and creativity to design original pieces.

Bohemian Style Elements

Integrating Bohemian style elements into your bracelet designs can result in playful and dynamic jewelry. Consider adding small charms that hold personal significance or represent elements of Bohemian culture, such as feathers or dreamcatchers. Attach these charms strategically throughout the bracelet for a whimsical touch.

Tassel and Fringe Details

Incorporate tassels or fringe elements to create a playful and dynamic appearance. By experimenting with different lengths and colors, you can achieve a visually striking effect.

Playful Patterns and Combinations

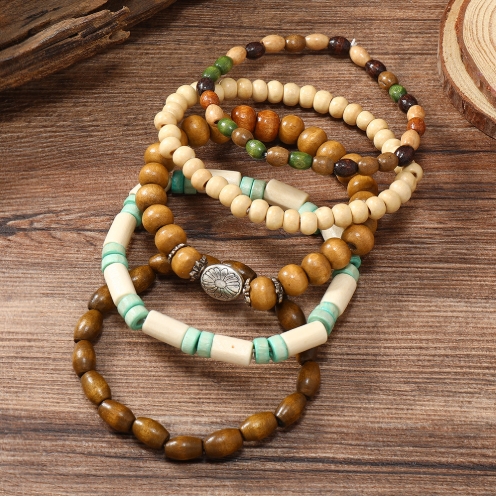
Embrace the eclectic nature of Boho style by mixing beads of various sizes and shapes. Creating a “random” pattern that feels spontaneous and carefree can add a unique charm to your pieces. Additionally, Bohemian style encourages layering and stacking, so don’t be afraid to wear multiple beaded bracelets together. Combining different patterns and textures can help you achieve a boho-chic, effortlessly layered look.

Mastering the Basics

Mastering the use of basic tools is crucial for creating professional-quality jewelry. By pairing basic tools with high-quality materials and incorporating thoughtful, well-planned designs, you can produce pieces that stand out for their artistry and attention to detail. Spending time on the finishing touches, such as smoothing edges and polishing surfaces, can give your jewelry a professional shine.

Material Selection

The choice of materials can greatly influence the difficulty and cost of your project. Craft stores offer a wide variety of options, from wires and strings to beads in every shape and size. Planning your project in advance can help eliminate uncertainty and ensure a successful outcome that meets your expectations.
Comments

Design 2: Double Strand Bracelet

Creating stunning bracelet bead designs at home requires the right tools and materials.

Design 2: Double Strand Bracelet

Creating stunning bracelet bead designs at home requires the right tools and materials.

Recent Blogs

Great things in business are never done by one person. They’re done by a team of people. We have that dynamic group of peoples
滚动至顶部

GET THE FREE QUOTE

Fill out the form below, and we will be in touch shortly.

Talk to our boss

Talk to our boss

Talk to our boss