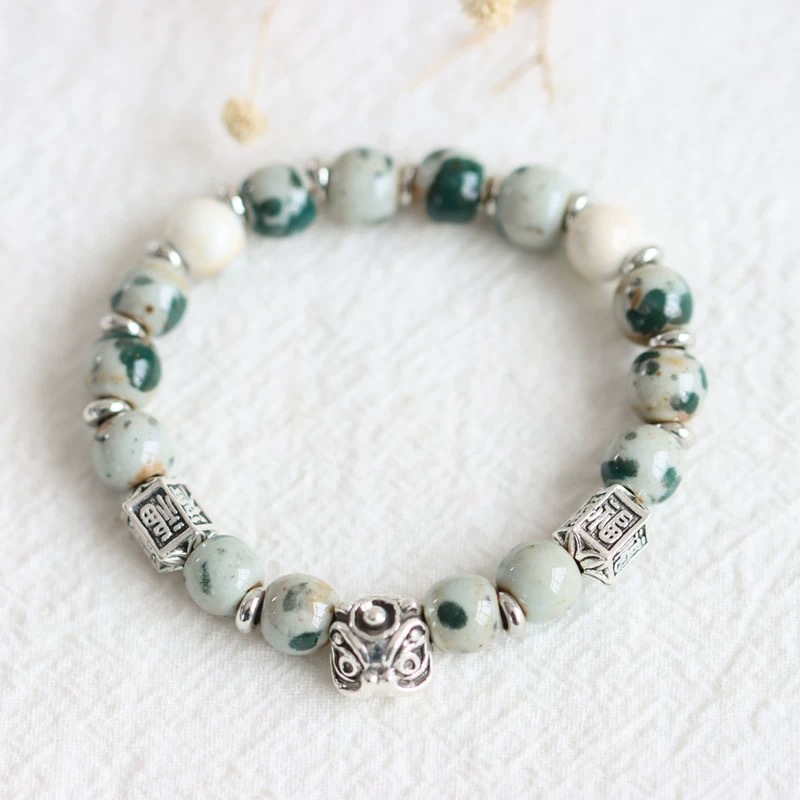
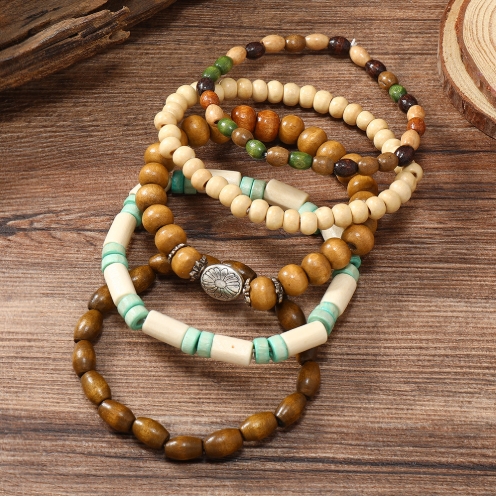
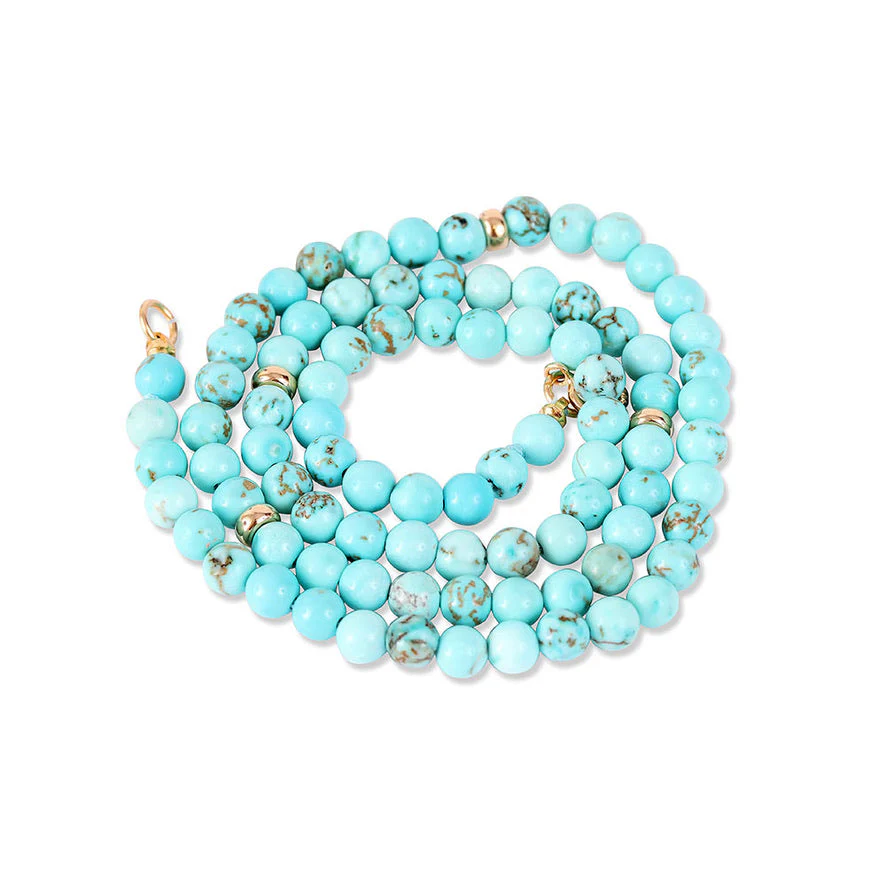
But what if you don’t have beads on hand? Don’t worry! This guide will show you how to create beautiful friendship bracelets using just string and some simple knotting techniques. Whether you’re a beginner or an experienced crafter, you’ll find fun and easy ways to make meaningful accessories for yourself and your friends. Read on to discover the joy of bracelet making without beads!
Why Make Friendship Bracelets Without Beads?
Making friendship bracelets without beads is not only a fun and creative activity, but it’s also:
- Cost-effective: You only need string or embroidery floss
- Portable: Easy to make anywhere, anytime
- Customizable: Endless color combinations and patterns
- Skill-building: Improves fine motor skills and patience
Let’s dive into the world of bead-free bracelet making and explore the possibilities!
What Materials Do You Need for Bead-Free Friendship Bracelets?
Before we start, let’s gather our supplies. Here’s what you’ll need:
- Embroidery floss or string (multiple colors)
- Scissors
- Tape or safety pin
- A flat surface to work on
That’s it! No need for expensive bracelet supplies or complicated tools. With just these basic items, you’re ready to create beautiful friendship bracelets.
How to Choose the Right String for Your Bracelet?
Selecting the right string is crucial for your bracelet’s durability and appearance. Here are some options:
- Embroidery floss: The most popular choice, available in many colors
- Thin cord: Stronger than floss, good for beginners
- Yarn: Creates a softer, chunkier bracelet
When choosing your string, consider:
- Color variety
- Thickness
- Durability
- Comfort on the skin
Remember, the type of string you choose will affect the final look and feel of your bracelet.
What Are the Basic Knots for Friendship Bracelets?
Before diving into patterns, let’s learn some essential knots:
- Forward knot: The foundation of many bracelet patterns
- Backward knot: The reverse of the forward knot
- Alternating knot: Combines forward and backward knots
Practice these knots until you feel comfortable. They’re the building blocks for creating various bracelet designs.
How to Start Your Friendship Bracelet?
Starting your bracelet correctly is crucial. Here’s a step-by-step guide:
- Cut your strings to about 24 inches each
- Tie all strings together at one end, leaving about 2 inches of tail
- Tape the knotted end to a flat surface or pin it to a pillow
- Separate the strings and arrange them in your desired color order
Now you’re ready to start knotting! Remember, a good start sets you up for success.
What Are Some Easy Friendship Bracelet Patterns for Beginners?
Let’s explore some simple patterns perfect for beginners:
- Candy Stripe: Alternating knots in two colors
- Chevron: Creates a V-shaped pattern
- Diamond: A more advanced pattern that forms diamond shapes
Each pattern uses the basic knots we learned earlier, just in different combinations. Start with the Candy Stripe and work your way up to more complex designs.
How to Make a Spiral Friendship Bracelet?
The spiral bracelet is a fun and easy design. Here’s how to make it:
- Choose 2-4 colors of string
- Tie them together at one end
- Take the leftmost string and knot it around each of the other strings
- Repeat step 3, always using the new leftmost string
This creates a spiral effect as you work down the bracelet. It’s a great alternative to beaded bracelets and looks impressive!
Can You Make Friendship Bracelets with Words or Names?
Yes, you can! Here’s how:
- Plan your word or name using graph paper
- Use different colored strings to represent letters
- Follow your graph, knotting the appropriate colors in each column
This technique, called “alpha patterns,” allows you to personalize your bracelets with names or short phrases. It’s a bit more advanced but very rewarding!
How to Finish and Tie Off Your Friendship Bracelet?
Finishing your bracelet properly ensures it will last. Follow these steps:
- Knot all strings together at the end of your pattern
- Trim excess string, leaving about 2 inches
- Braid the remaining tail
- Tie the braided end to the starting tail to form a loop
Your bracelet is now ready to wear! Make sure it’s not too tight or too loose on your wrist.
What Are Some Creative Ways to Wear Friendship Bracelets?
Friendship bracelets are versatile accessories. Here are some fun ways to wear them:
- Stack multiple bracelets on one wrist
- Mix with other types of bracelets
- Wear them as anklets
- Attach them to backpacks or purses
- Use them as bookmarks
Get creative and find your own unique way to showcase your handmade bracelets!
How to Care for Your Friendship Bracelets?
To keep your bracelets looking great:
- Remove them before swimming or showering
- Gently hand wash with mild soap if needed
- Air dry flat to maintain shape
- Store in a cool, dry place when not wearing
With proper care, your friendship bracelets can last for years, preserving memories and friendships.
